Procedure
Water Difference
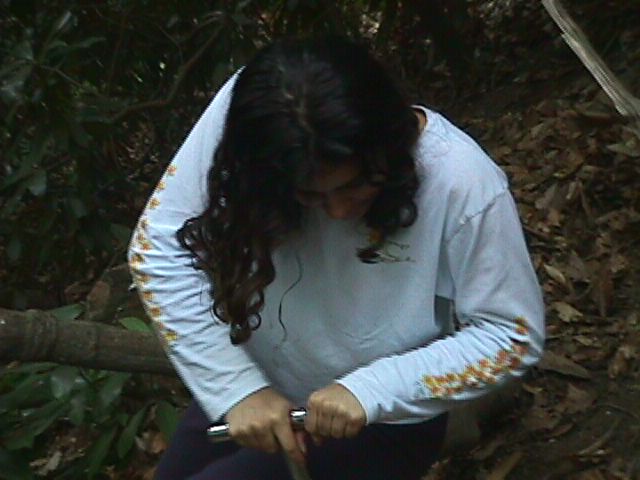
1a. Get one soil sample from both
site three and four 15 cm in length in a 2 centimeter wide soil core.
2a. Place the soil samples into
an incubator.
3a. 24-48 hours later, weigh the
samples and calculate the difference between the weight of the soil samples
before and after being placed in an incubators, to find the amount of water in
the soil samples. Then find the difference between the amounts of water in each
sample

Positive Control
1b. Get three soil samples from
various locations from both site three and four.
2b. Perform tests to check
nitrogen and bacteria levels. (see “Lab Tests”)
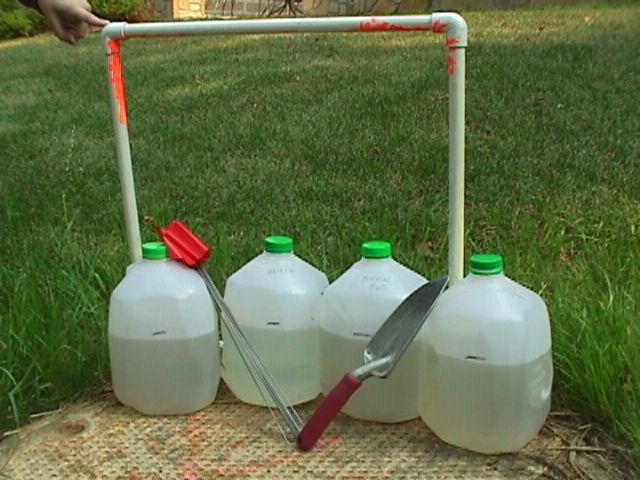
Calculating the Amount of Water to Use in Your Experiment
1c. Find how many soil cores can
fit within a 50*50 cm2 area.
Formula: 50*50/ 3.14* 1cm2 = 2500/3.14 = 795.8
2c. Multiply the water difference
from 4a by the number of cores. This number is how much water difference in ml
there is per 50cm2 (ml/50cm2).
3c. If appropriate to the found
water difference, convert ml to liters and/or to gallons for easier
transportation of water.

Setting up the Experiment
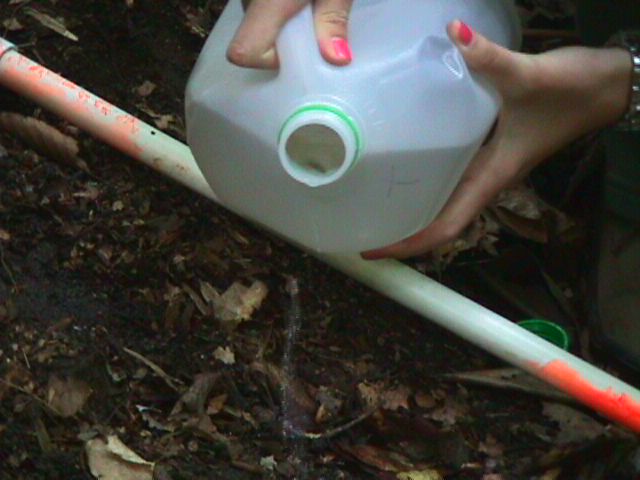
1d. Hydrate a half square meter
of land in three quadrates of site three, using the amount of water you
calculated earlier. Do not forget to use flags to find this location easily.
2d. Take soil samples 4 – 24
hours later from site 3 (artificial wet and dry) and site 4 (negative control).
3d. Return with the soil samples
to the laboratory to test for nitrate nitrogen and bacteria levels (see “Lab
Tests”).
4d. Repeat steps 1d. – 3d. as
many times as feasible.
Lab Tests
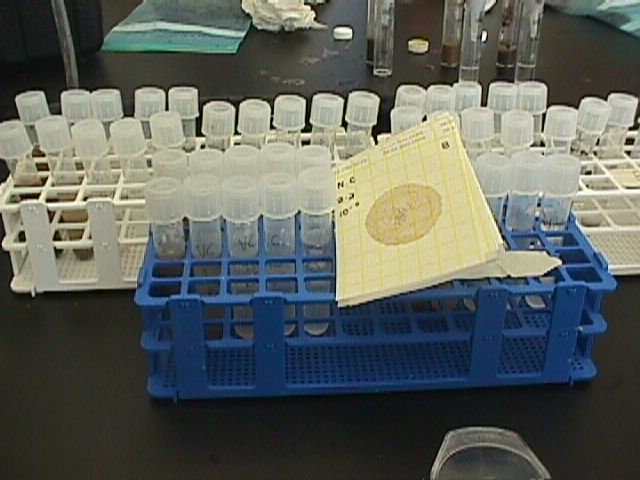
Bacteria Serial Dilutions
- For
each soil sample, fill a test tube with 10 ml of water and 1 ml of the soil
sample. Shake.
- Fill
a new test tube with 9 ml of water and 1 ml of the first solution.
- Fill
a new test tube with 9ml of water and 1 ml of the previous solution.
- Continue
doing this until you have 5 test tubes of solution. Each one should be more
diluted than the previous.
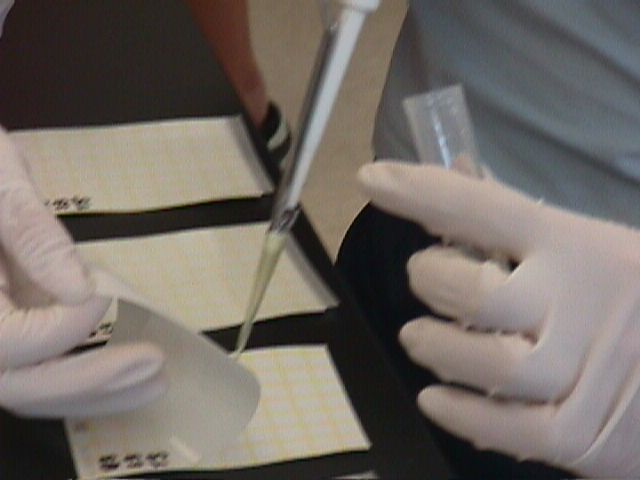
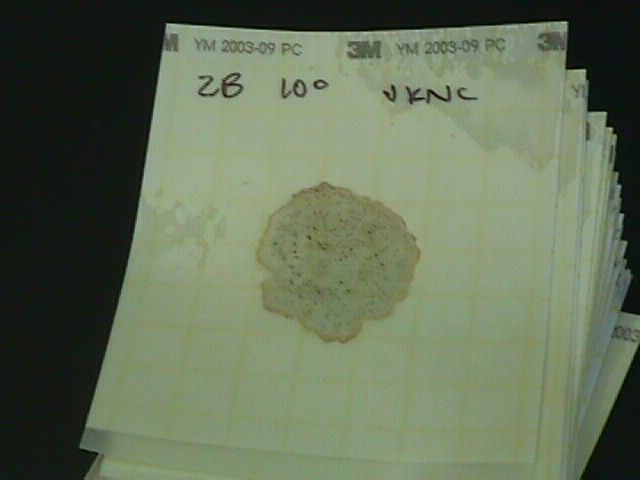
- Then,
plate each test tube on a separate Petrifilm plate. To do so, use a
micropipet to transfer 100 micro liters from each individual tube. Label the
plates.
- The
bacteria need 24-36 hours to grow. Leave them in a cool dry location for
this period.
Nitrate Nitrogen Test
*This test is taken from the LaMotte STH instruction
manual and is used with the LaMotte STH Series of professional soil testing
outfits.
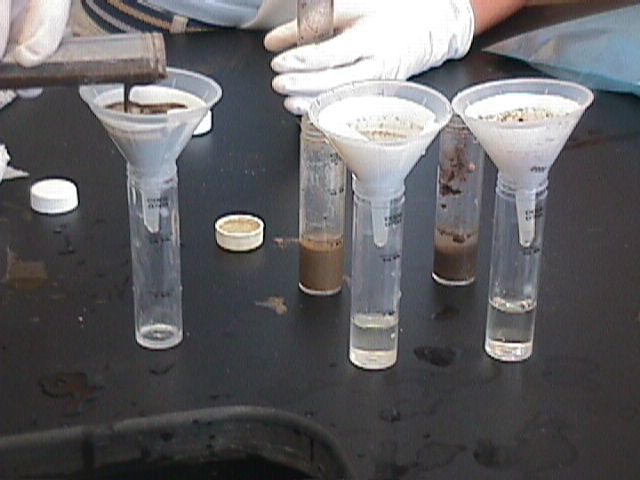
Making the Extractions
- For
each soil sample, fill an Extraction Tube to the 14 mL line with Universal
Extraction Solution.
- Use
a plastic soil measure to add two level measures of the soil sample. Cap and
shake for one minute.
- Use
a piece of filter paper and a plastic funnel to filter the soil suspension
into a second extraction tube. (Fold the filter paper in half and then in
half again to form a cone, which is fitted into the funnel.) The filtrate in
the second extraction tube is the general soil extract that will be used in
the Nitrate Nitrogen Test.
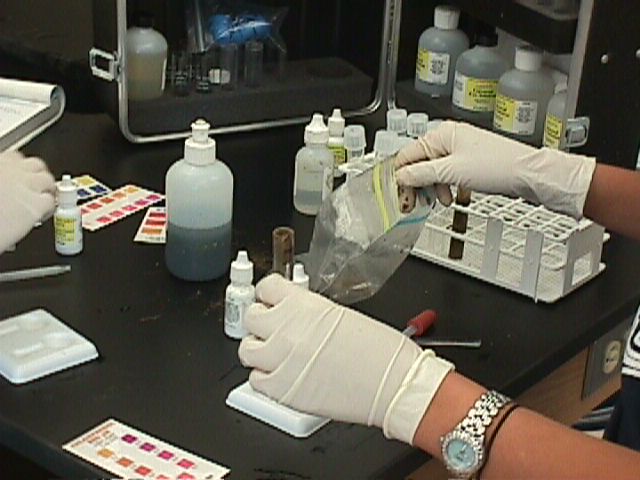
Nitrate Nitrogen Test
- Use
a 1 mL pipet to transfer 1 mL of the general soil extract to one of the
larger depressions on a spot plate.
- Add
10 drops of Nitrate Test Reagent #1.
- Use
a 0.5 g spoon to add one level measure of Nitrate Reagent #2.
- Stir
thoroughly with a clean stirring rod. Allow to stand five minutes for full
color development.
- Match
sample color with Nitrate Nitrogen Color Chart. Record as pounds per acre
nitrate nitrogen.
Repeat
the extraction and nitrate nitrogen test for each sample.
Return to Introduction Page
Go to Trouble-Shooting Suggestions