 |
|
|
|
PROCEDURE
  |
  |
 |
1. Using a soil core sampler, collect 12 samples from each of sites 3 and 4 along the riverbed, 12 samples from site 1 and 12 samples from the hill on site 3 where the soil texture and water amounts are approximately the same as in site 1. Keep in mind you are controlling for amounts of water, sunlight, etc. The soil textures should be similar in each comparing site.
2. Place each sample in a plastic bag and label.
3. Make sure that you clean the soil core sampler between each collection as to not contaminate your samples.
4. Only collect as many samples in one day as you can perform the required tests on that day as well. For example, if you collect 5 samples from each site you must be able to do serial dilutions and soil jar texture tests for all samples on that day.
5. Using preliminary data from the biota survey, we found that for site 3, mold was counted on plates with dilutions 10-1, 10-2 and 10-3. In site 4, mold was counted on plates with dilutions 100, 10-1 and 10-2. In site 1, mold was counted on plates with dilutions 10-1 and 10-2. Therefore, in our experiment we only plated those dilutions which we knew would yield the mold counts that we needed.
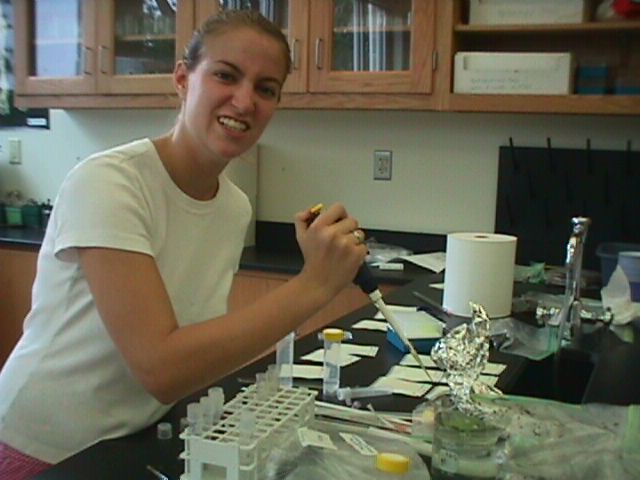
6. Perform serial dilutions for all samples, make sure that you have prepared a solution with 9 parts water, 1 part bleach to put the used micropipette tips into.
7. Collect 3 Yeast/Mold petrifilm plates for each sample. Label accordingly.
8. For plating the samples: make sure that you have prepared a solution with 9 parts water, 1 part bleach to put the used micropipette tips into.
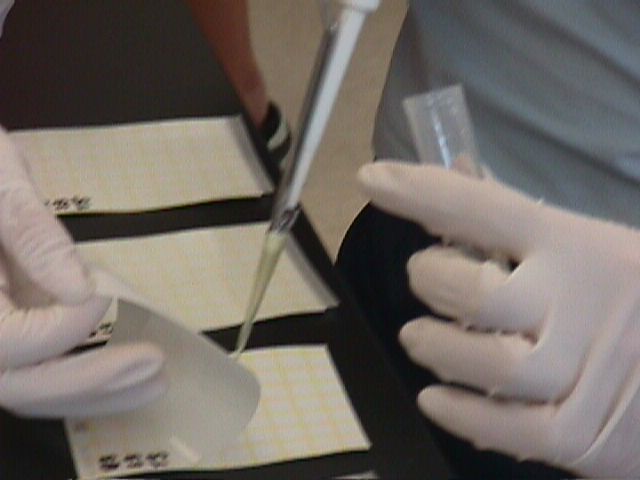
9. Using a 100 microliter micropipette and a sterile micropipette tip, transfer 100 microliters of the solution from the first transformation tube that you need to plate (e.g. in site 3 it would be the 10-1 tube) and place it onto the appropriate petrifilm plate. Cover petrifilm, and using a spreader, press down on solution to spread it.
10. Dispose of the micropipette tip in the bleach solution, and get a new tip for the next tube.
11. Repeat steps 17-18 for the remaining tubes.
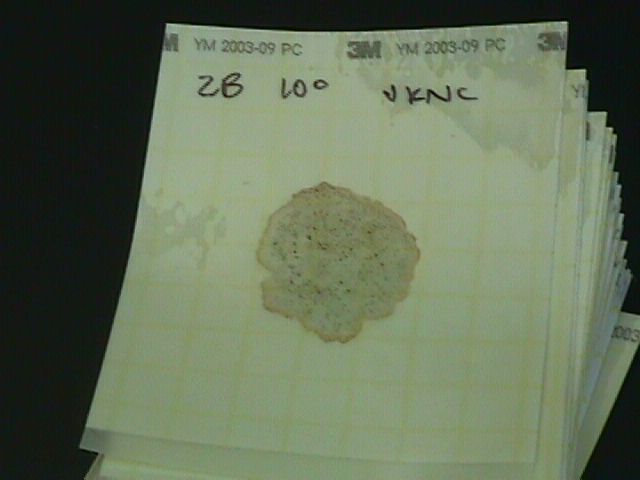
12. Store petrifilms in a cool, dark and dry spot. It will take approximately 48 hours for mold to grow. When counting the mold, look for the petrifilm with the least amout of mold on it.
13. Record the dilution the mold occurs on, and count the number of molds (the fuzzy dots).
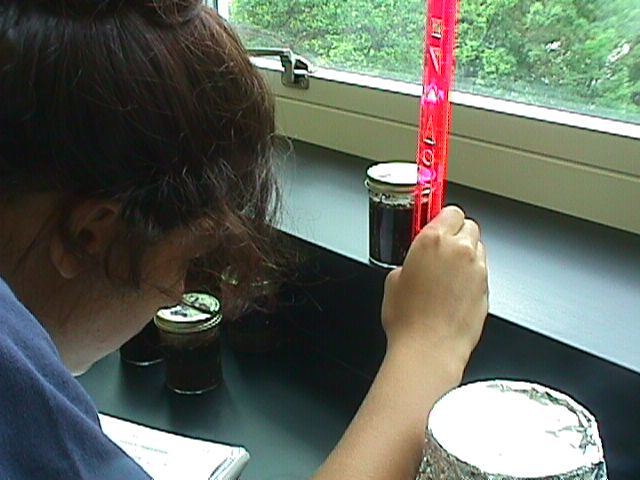
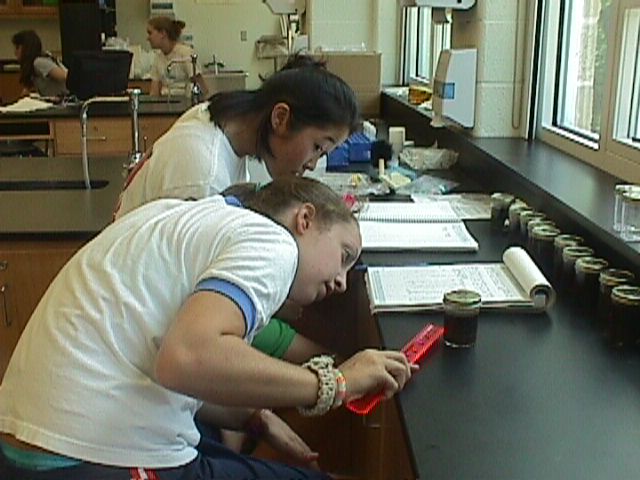
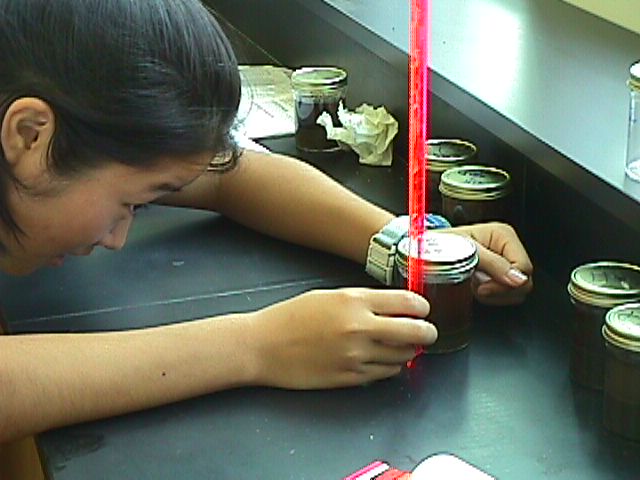
14. To perform the soil jar texture tests, collect 1 jar for each sample.
15. Fill the jar about 2/3 way up with soil.
16. Fill almost to the top of the jar with water (doesn’t matter if its sterile or tap), and add a few drops (about ½ a pipette full) of phosphate soap.
17. Cap tightly and shake until contents are well mixed.
18. Set aside and do not move for at least 12 hours or so until contents have settled.
19. The soil can settle into 3 layers. The bottom layer will be somewhat gritty and perhaps a different color than the next layer. This bottom layer is sand. The next layer should be somewhat smooth and settled, and this should be silt. The top layer should be smooth looking and will be lighter in color than the other layers. This layer is the clay.
20. To measure the soil texture, using a ruler first measure from the bottom of the soil layers to the top of the clay layer, where the water starts. Record this distance.
21. Next, measure each layer seperately, and record these measurements.
22. Find the percentages of each silt, sand and clay in each sample by dividing the measurement of the particular layer by the total height of the settled soil.
|
|
|