![]()
![]()
![]()
![]()
![]()
![]()
![]()
|
|

Materials:
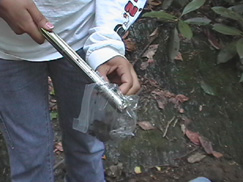
1. small plastic bags to put collected samples into
2. 15 cm long / 2 cm wide soil corers
3. LaMotte Soil testing kit (series STH14)
4. 3M Petrifilm™ Plates for Yeast and Mold
Procedure:
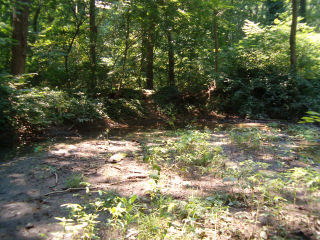
1. Choose two separate locations with differences in plant growth or magnesium levels.
|
2. Map out the two locations you have chosen. We suggest dividing each site into 4 quadrats, with Quadrat 1 being the northwest corner.

3. Label the materials you will be using to store your collected data. For example, label using the day, site, and quadrat. (e.x. Day 2 Site 1 Quadrat 2)
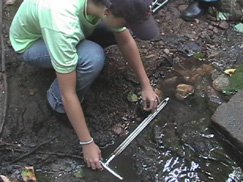
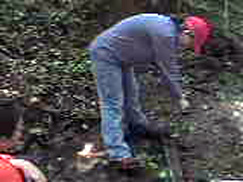
4. On Day 1, take your soil samples using a soil corer. Place corer on the surface of the soil and insert straight into the ground until the soil reaches the 15cm line. Turn the corer 360˚ then remove from soil.
5. Place your sample into the corresponding bag that you are using to collect data.
|
|
6. Rinse the corer to remove soil after taking each sample.
|
|
7. Mark location where soil sample was taken on map. Take four samples from each site, one per quadrat, each day.
8. Repeat for at least 3 days to complete 3 rounds of your experiment; if time allows, 5 rounds is preferable.
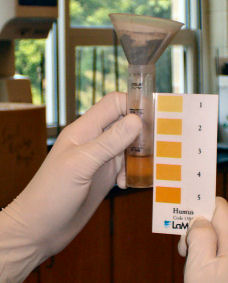
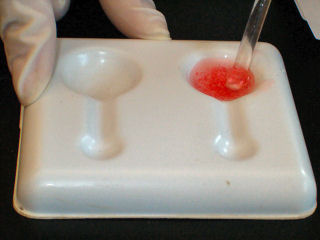
9. Test for humus, magnesium, and yeast (all three tests must be done simultaneously for each sample.) Use the LaMotte testing kit (series STH14) to test for humus and magnesium. Use the ordinal scale for the humus reading. Convert the magnesium reading to parts per million. Record results from chemical tests.
Humus Testing:
|
|
|
|
|
|
|
|
Magnesium Testing:
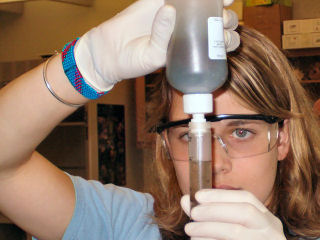
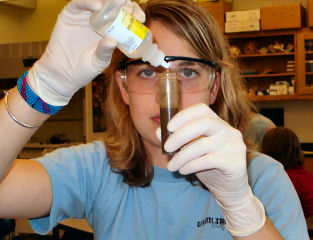
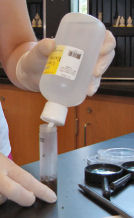
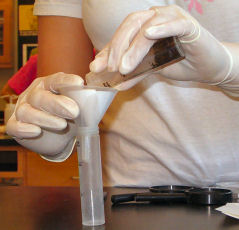
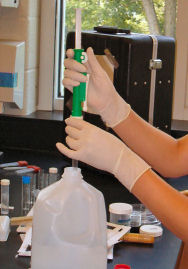
In order to perform a test for Magnesium, you must first perform a soil extraction by adding 7 mL of General Soil Extraction Solution (found in your LaMotte Test Kit) and 1 g of soil. Then, filter the mixture into a separate tube.
|
|
|
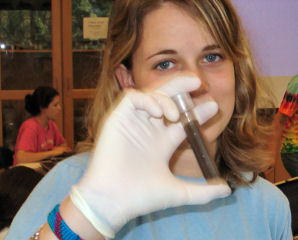
Next, perform the test according to the directions supplied in the LaMotte Testing Kit.
|
|
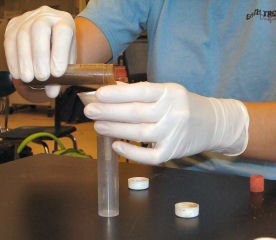
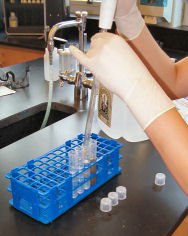
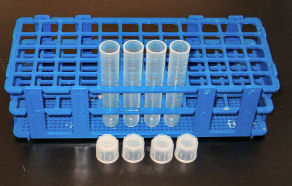
10. To complete the serial dilutions:
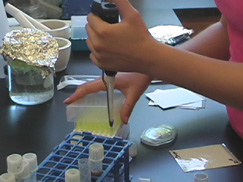
a. Prepare 4 separate test tubes labeled 100,10-1,10-2,10-3
b. Fill the test tube labeled 100 with 10 ml of sterile water. Fill the rest of the tubes with 9 ml of sterile water.
|
|
c. Put 1 cc of your soil sample into the test tube labeled 100. Cap and shake it vigorously.
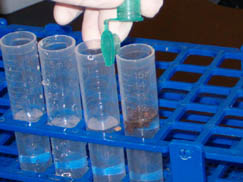
d. Use a serological pipette to remove 1 ml of the soil and water mixture from the test tube labeled 100 and put it in the test tube labeled 10-1. Shake vigorously
|
|
e. Repeat Step D two more times (place 1 ml from the 10-1 tube into the 10-2 tube, cap, shake; place 1 ml from the 10-2 tube into the 10-3 tube, cap, shake)
f. Plate 100 micro liters from each test tube onto yeast and mold nutrient plates for growing. (Plate each dilution on its own plate)
g. Place your plated yeast and mold samples in a dark, room temperature area. Leave them to grow for 3 days.
h. On the third day, count yeast samples. Find the lowest dilution with at least 5 yeast colonies growing. The yeast colonies will be small, dark, blue dots on the plates. Remember to record your results. Use this equation to convert your data: # of colonies * 100 * 10|dilution factor|