![]()
![]()
![]()
![]()
![]()
![]()
![]()
![]()
Procedure
Materials: Gloves
Water
Plastic bags
Goggles
Small flatbottomed jar
Ruler that measures centimeters
Soil extracting fluid
Garden trowel
Squeezable pipette
LaMotte soil test kit
Soil cylinder

1: Choose 5 plastic bags that you have with you and label the highest percents of clay on the bags, 5 plastic bags that have a medium percent of clay on the bags, and 5 plastic bags with the lowest percents of clay on the bags.
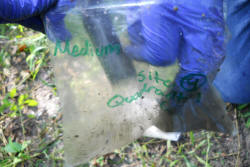
2: Then go to a location in which there is soil (Backwoods, backyard etc.),and find 3 locations with varying percentages of clay. Label the number of bags by the site and quadrant of the soil sample. You can label bags by writing the amount of clay on them then site and the quadrant. For example: "medium" or "low" or "high" can be written on the bag to clarify which sample it is."Medium" is the medium amount of clay you have. "High" is the most amount of clay you have. "Low" is the least amount of clay that you have. "Texture"or "T" is also written on the bag to show that the soil sample is meant for a texture test. For example, a high percentage of clay could be "16-15%" a medium percentage could be "12-10%" and a low could be "7-6%".
ex: S1Q1-Medium-T
3: Use a garden trowel and stick it into the ground and dig a scoop of soil from the sites that were chosen.
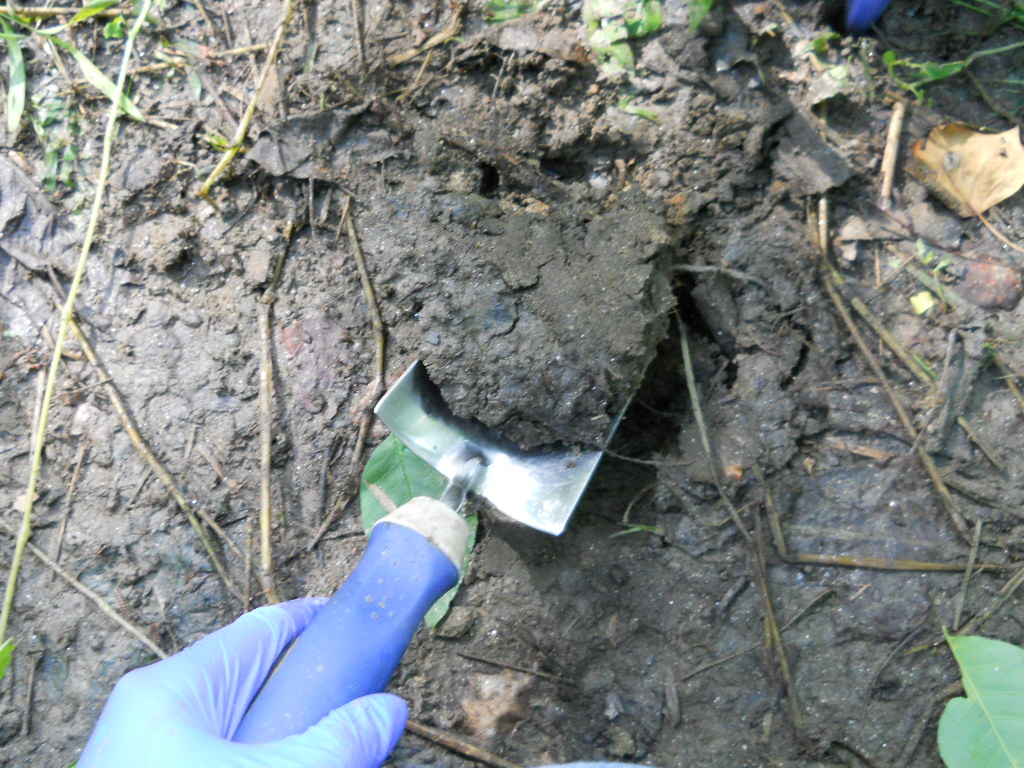
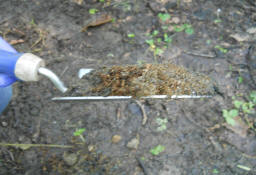
4: Before putting the soil in the bag, level off the soil so that it is only one scoop full.You can level off the soil by taking your palm and sliding it across the top layer of soil that is on your trowel. To avoid contamination , wash off your trowel in water each time you use it.
5: While outside a soil core sample can also be taken. The bag labling is similar,however, instead of writing "texture" or "T" on the bag "Core" or "C" should be written.
6: Take a soil cylinder that is 2cm in width.
7: Put it in the ground until the 15cm mark then turn it clockwise 3 times
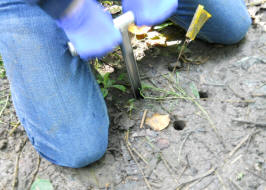
8: Place the soil into the correctly labled bag.
9: After returning to the classroom, take out one flatbottomed jar for each soil texture sample that was taken in order to test the soil texture. The jar is 7cm tall and have a diameter of 5.
10: Label each jar the same way you labled the soil texture samples.
11: Measure and mark 2cm and 6cm on the jar
12: Fill the jar with soil up to the 2cm mark with soil. Only fill each jar with its corresponding bag of soil.
13: Fill with tap water to the 6cm mark on the jar.
14: Use a squeezable pipette of dishwashing detergent contaning phosphates and fill it up to 1ml mark on the pipette by sticking it into the soil extracting fluid squeezing it and then transferring the liquid into the it into the flatbottemed jar. You can make soil extracting solution with simple ingredients. Soil extracting fluid is made from dishwashing detergent containing phosphates.
15: Place the lid on the jar and shake for one minute. Sit the jar on a flat surface; a table or a counter. Wait 24 hours so the soil can set.
16: After waiting 24 hours, your soil will be separated in layers of sand, silt, and clay.
17: Then you need to take your ruler and measure the amount of clay that is in your jar. You need to measure in centimeters. To calculate your pecentage of clay you need to have the ml of clay over 15 multiplied by 100. Tada! You have your clay %.
18: Once finished setting up the soil texture test it is time to begin the potassium test.
19: Use each core sample to test for potassium levels. The data is to be calculated in (ppm) which means parts per million.(Click "Troubleshooting" above if you do not know which kit to use.)
20: Complete steps 1-20 for 5 days to compare data for the decline/rise in clay from different sites over time.