|
WELCOME TO OUR PROCEDURE PAGE
We have created a
walkthrough of our experiment
for you to follow. Enjoy!
Please feel free to contact
us with any questions. |
Full list of
Materials for this experiment.
|
1.
Choose a site where you want to do your experiment. We will
call it Site X.
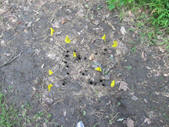
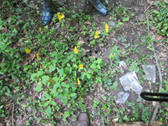
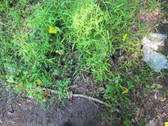
2. Choose 4 plots within Site X that have different plant
groups and different amounts of plants. One of these plots
should have no plant life -- this will be used as the positive
control because there is no plant life to effect the nitrate levels
in the soil. Mark a 0.5
meter by 0.5 meter square in each plot.
|
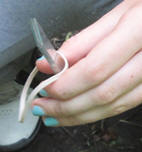
3.
Five standard sized glass microscope slides will be
placed in each plot; 1 slide in each corner, and 1 slide
in the middle. Before the slides are inserted into the
ground, you have to draw a line 1.5cm from one edge and
mark a line across the slide with a permanent marker
(**do NOT mark anywhere else on the slide**). You should
make 20 slides total. Also choose markers or flags to
mark with the plot # and slide # and that you will plant
into the ground next to its corresponding slide.
|
 |
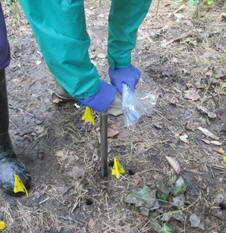 |
4. Go to Site X and bring along
the 20 slides, the 20 markers/flags, a trowel and a 2cm
diameter soil core extractor. When you are ready to put
your slides in the ground, first, stick the trowel into
the ground to make it easier for your slide to go in.
Place the slide in the ground so that the line you drew
is level with the soil, and the long end of the slide is
in the soil.
Every time you insert a slide into the ground, take a
15cm deep soil sample using the soil core extractor
directly next to where you put your slide in. Put the
soil sample into a plastic bag marked with the plot #
and corresponding slide #.
Place one marker/flag next to where you inserted
your slide and took your soil sample.
Here is a video you can click on that shows you how to
properly insert your microscope slides into the soil.
algaeslidemovie.mp4
|
|
5. Once you have placed all of your slides and
flags, and gotten all of your soil samples, take the
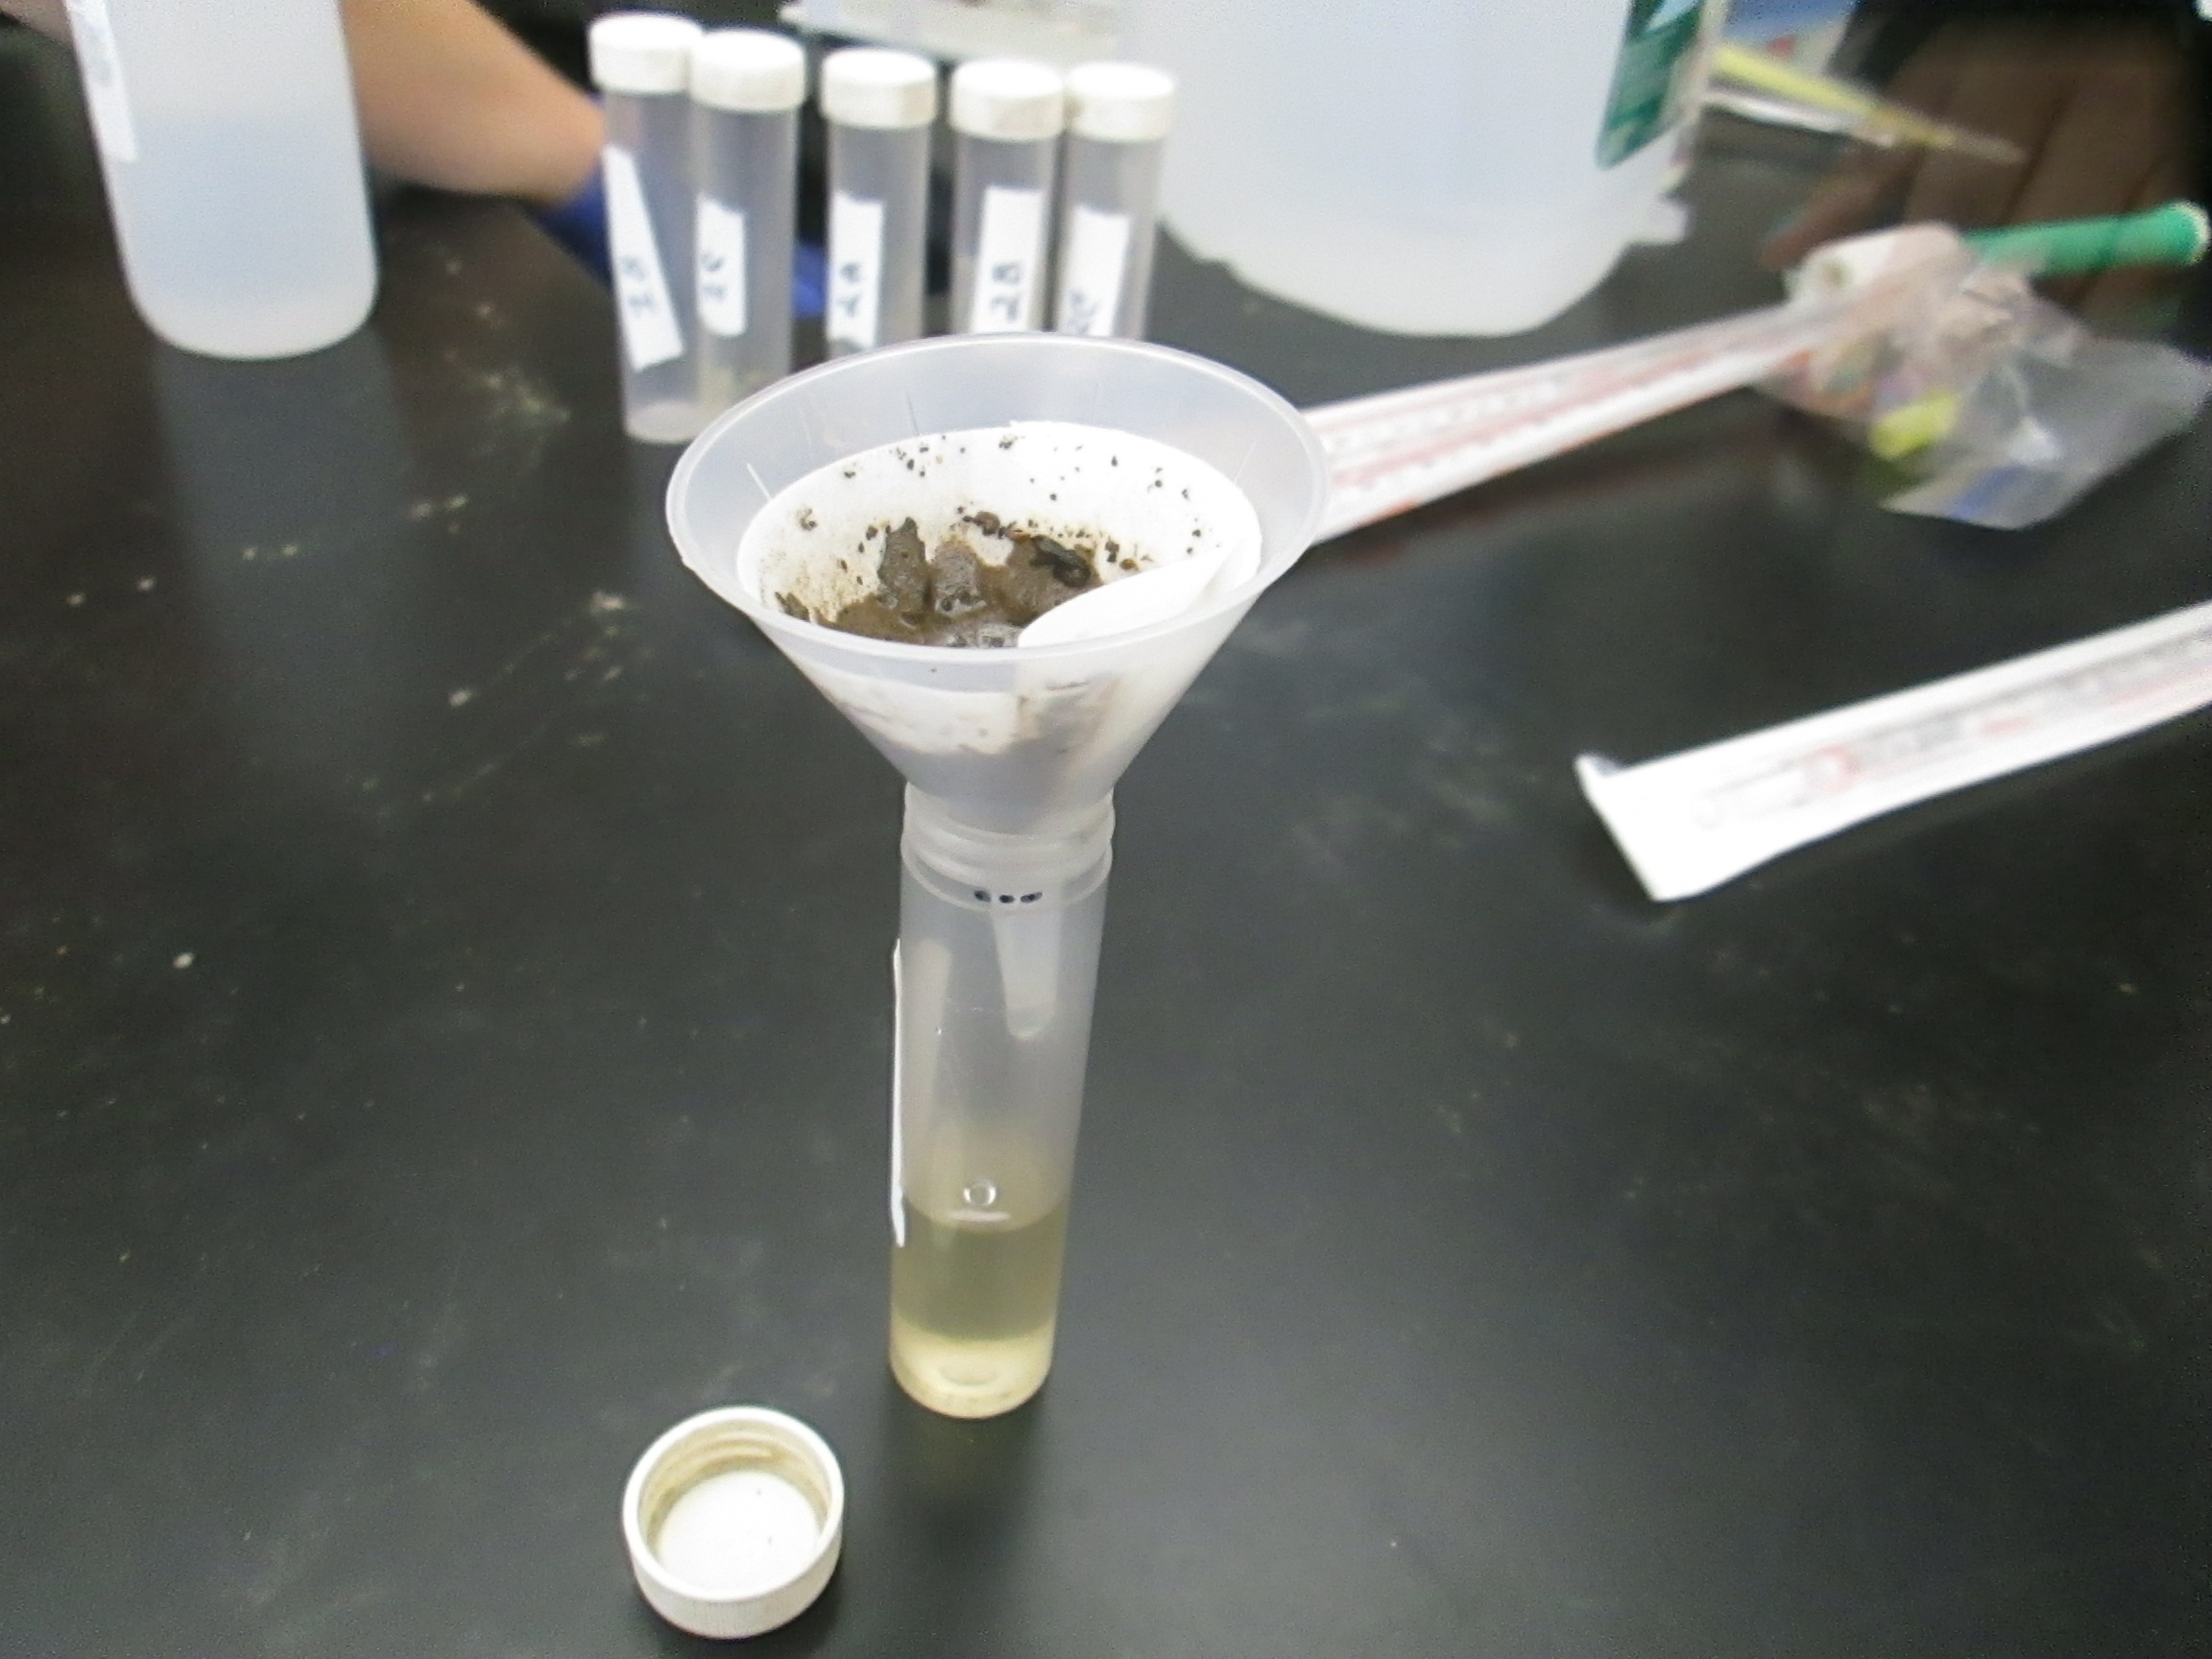
soil samples back to the lab. Immediately begin the
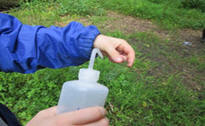
Extraction Procedure with a soil chemical test kit
which will allow you to test for nitrates in the soil.
(See
Troubleshooting page for suggestions)
| 6. After the Extraction Procedure has been
finished for all of the soil samples, complete
the Nitrate Nitrogen test with a soil chemical
test kit. Record the data you
collected in ppm. |
|
|
|
7.
After 48 hours, you can remove you microscope slides
from your plots. When you go to take them out, take 40
more standard glass microscope slides, 20 rubber bands,
4 plastic bags (marked for each plot), 20 plastic bags
for soil samples, a soil core extractor with a 2 cm
diameter, and a bottle of distilled water.
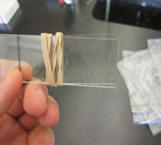
8. Carefully pull out the slides and gently rinse
off the dirt with distilled water. Take two of the
microscope slides you brought and place 1 on each side
of the microscope slide that was in the ground to create
a “sandwich”. Place all the “sandwiches” from a plot in
the same plastic bag. Every time you pull out a slide,
take a 15cm deep soil sample from the exact spot you
took out the slide and place the sample in a marked bag.
|
|
9.
Once all of your slides have been removed and you have
taken all of your soil samples, return to the lab. Place
the microscope slides in the fridge to stop the
metabolism of the algae which allows you to analyze the
slides later. Then, repeat the Extraction Procedure and
Nitrate Test with a soil chemical test kit for the soil samples you collected. Once again,
record your findings in ppm.
|
 |
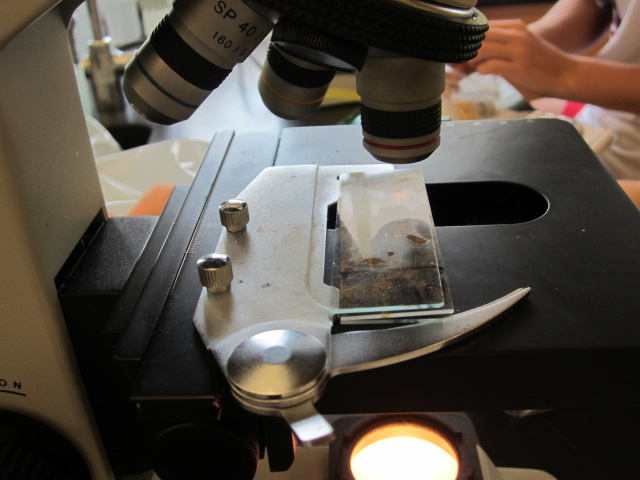 |
10.
After completing your nitrate testing, you can begin
counting the algae on the microscope slides. Take only
the slides that you will immediately be counting out of
the fridge. Use a 40x light microscope to examine 5
fields of view (each corner and the middle of each
slide). The algae on your slide will have a distinct
green tint (like the picture below). Record the count for each field of view. Average
the number of algae counted for each slide and then
divide by 17.3 to get the number of algae per mm3,
which will be your unit of measure for algae.
|
11. After you have counted the algae on each slide,
discard the glass in a broken glassware box.
|
|
Please visit our
Troubleshooting page for suggestions on how to
successfully complete this experiment. Thank you for
having an interest in soil ecology and for visiting our
website! |

| Courtesy of Google
Images |
|
|