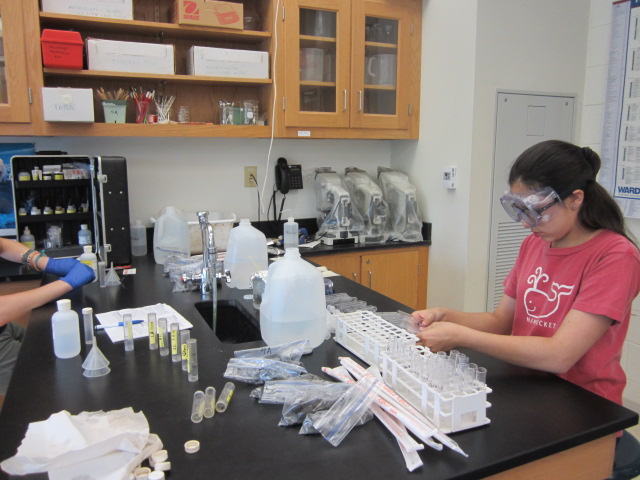
Procedures for Serial Dilutions
Use a clean transfer pipette to add to add 10 mL to all the 15 mL culture tube that are labeled “100.”
Use the same pipette to add 9 mL to
the rest of the 15
mL culture tube.
Place 1 cc of
the soil sample into the corresponding “10-1”
culture tube.
Cap the tube and shake vigorously.
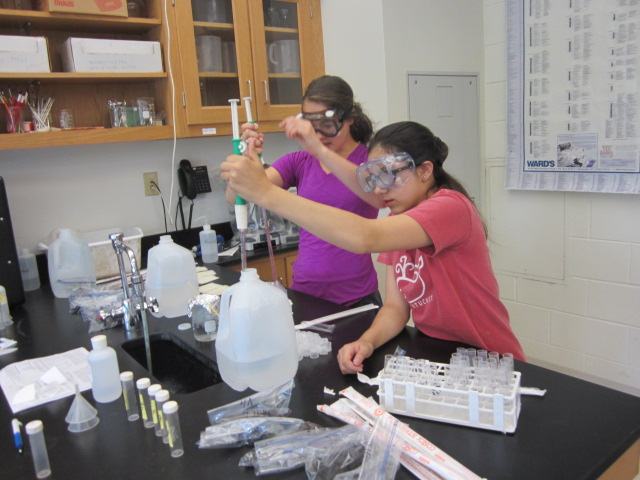
Using a clean pipette, remove 1 mL of the soil/water mixture from the “100” tube and place in the “10-1” tube, then shake.
Using the same pipette in step 6, remove mL of the soil/water mixture from the “10-1” tube and place into the “10-2” tube, then shake.
Using the same pipette in step 6, remove mL of the soil/water mixture from the “10-2” tube and place into the “10-3” tube, then shake.
Using the same pipette in step 6, remove mL of the soil/water mixture from the “10-3” tube and place into the “10-4” tube, then shake.
Plate 100 µl samples from the 100, 10-1,
and 10-2 , 10-3, 10-4 tubes onto their own separate, labeled petri plates
containing nutrient agar
Allow to grow for 48 to 72 hours
Examine each of the plates for fungi growth to make your estimates of the number of bacteria in the original 1 cc soil sample using the following the formula:
# Microbes in 1 cc of soil = # Colonies on sheet x
102 x 10 [dilution # at which these colonies were found]
If there are not individual colonies but still a
“lawn” at the 10-4 dilution, repeat the dilution adding a 3rd and 4th
dilution, etc. as necessary until growth is observed