|
|
|
|
|
|||
|
|
|
|
| Procedure |
Materials:
|
|
|
||||||
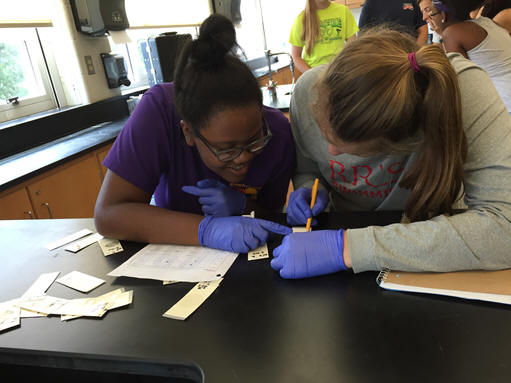
1.
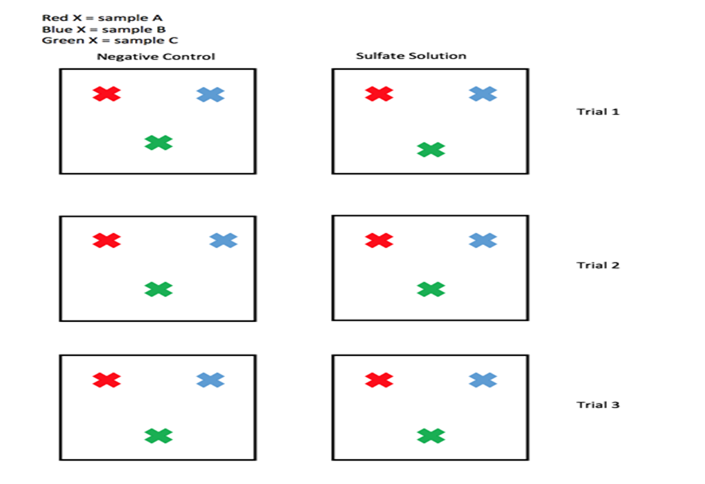
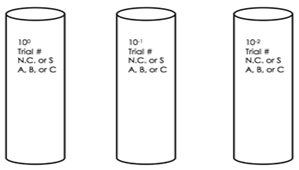
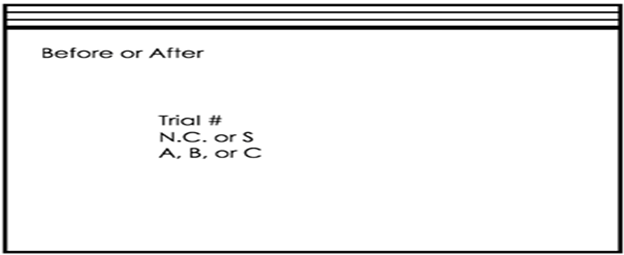
Label plastic bags using a permanent marker corresponding to the trial number (1,
2, or 3), type of
plot (negative control [n.c.] or sulfate solution [s]), sample (a, b, or c), and
time (“Before” solutions were added to soil or “After” solutions were added to
soil).
2. To create a
saturated sulfate solution measure 11.6 grams of magnesium sulfate, also known
as Epsom salt, using a balance. Then measure out 1000 mL of tap water using a
graduated cylinder.
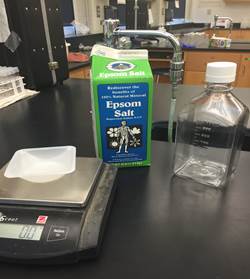
3. Mix magnesium
sulfate and water together in a 1000 mL bottle until magnesium sulfate is fully
dissolved. Label bottle “Sulfate” to distinguish from bottles of water.
4. Repeat steps 2
and 3 two more times. A total of 3 bottles of Sulfate solution should
exist.
5.
Gather materials before heading to a site (a possible site could include a lightly
forested area
with minimal foot traffic); 18 labeled plastic bags, 18 flags (9 white and 9
yellow), a permanant marker, hammer(s) soil core
extractors, 3 1000 mL bottles of water, 3 1000 mL bottles of
Sulfate
Solution, a field notebook, and a pencil.
6.
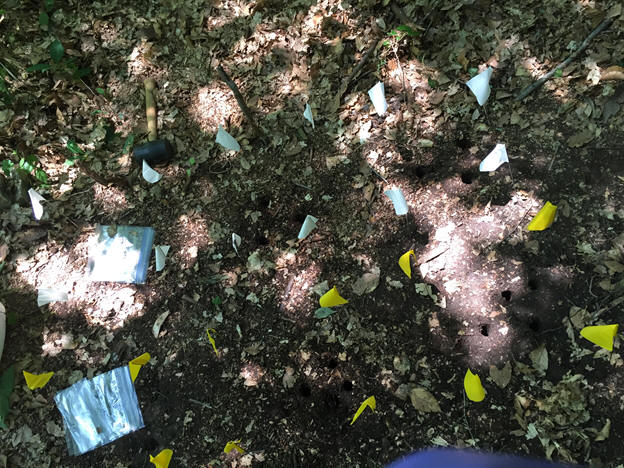
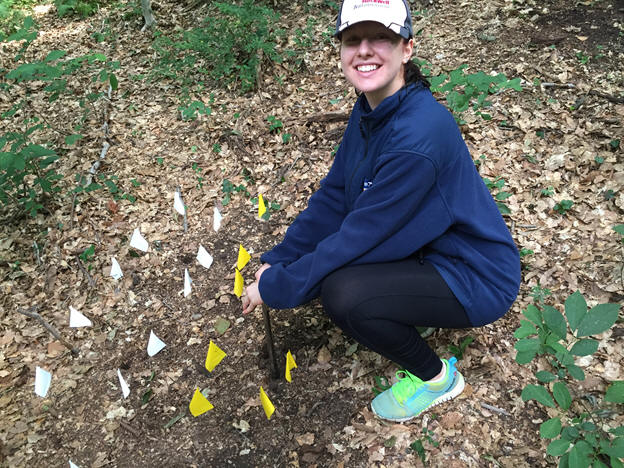
Create 6 plots 30 cm by 30 cm, each plot being 20 cm apart marking the corners
of each plot with flags. Each row of plots is a different trial; row 1 is trial
1, row 2 is trial 2, and row 3 is trial 3. The
first column of plots are for the negative control where water is added, and the second column
of plots are for
the magnesium sulfate solution is added.
|
|
|
|
|
|
|
|
|
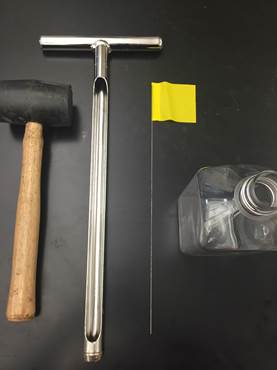
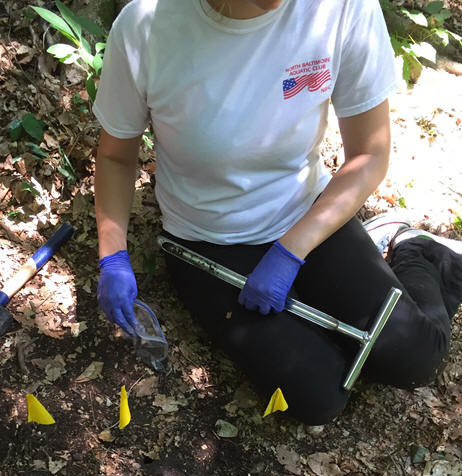
7.
Insert a soil core extractor into the soil in the appropriate plot (using a
hammer when necessary) to collect
a sample of soil with a depth of 15 cm and diameter of 2.5 cm.
8.
Twist the soil core extractor clockwise to remove extractor with soil from the
ground.
9.
Place soil sample into a corresponding bag.
10.
Repeat steps 4-6 until all 18 soil samples are collected, three from each of the
6 plots. All
“before” soil samples must be collected at the same time of day.
11.
Record approximate locations from where soil core samples are taken in a site
map.
12.
After samples are collected add 1000 mL of tap water from Nalgene bottle and
1000 mL of
sulfate solution from Nalgene bottle into each respective plot. Pour slowly to
make sure that the 1000 mL stays in its corresponding plot. Evenly pour liquid
over the entire plot.
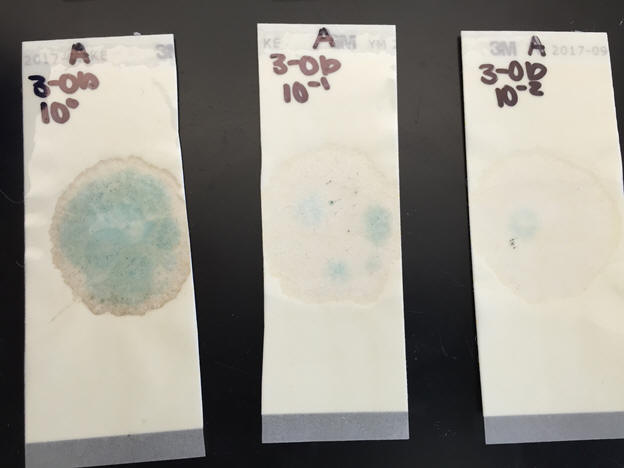
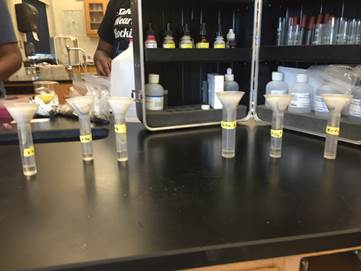
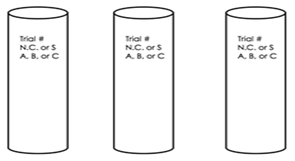
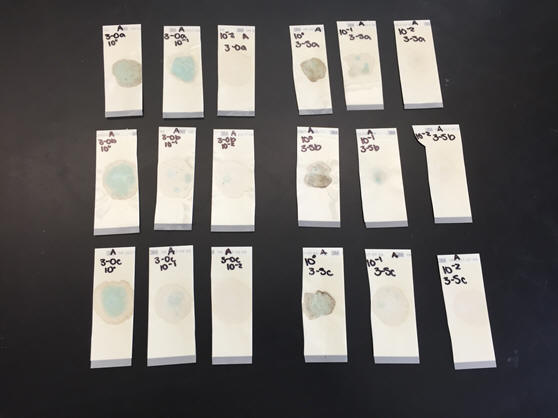
13. The same day that the soil samples are extracted, perform serial dilutions and general soil extractions using a chemical test kit on all samples from Trial 1 “Before”. Serial dilutions and general soil extractions from a certain trial must be completed at the same time. Label extraction tubes and test tubes with the corresponding sample. Let the yeasts and molds grow for 24 hours on a fungal nutrient agar plate.
|
|
|
|
|
|
|
|
||
|
|
|
|
14.
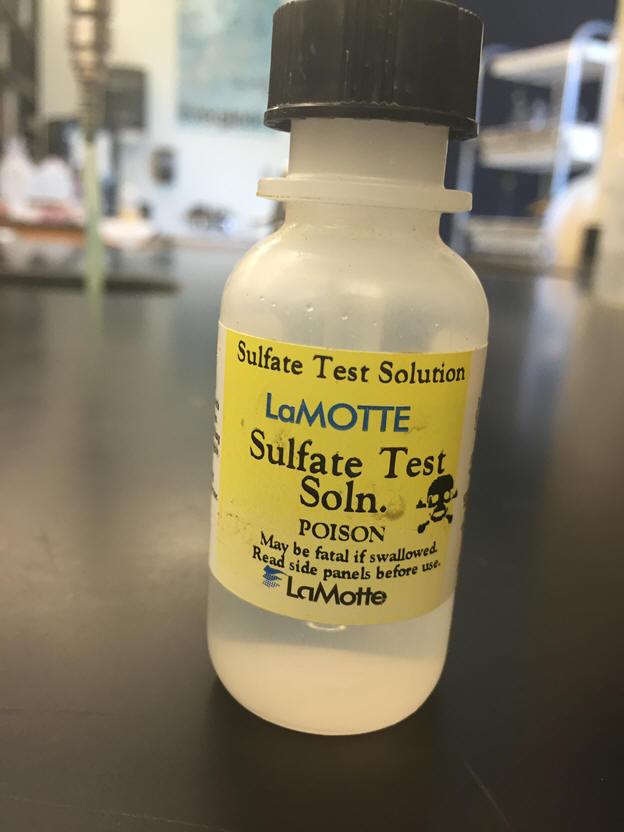
Perform sulfate chemical test using a chemical test kit on all samples from
Trial 1 “Before”.
Observe and record data in data table.
15.
24 hours later, perform serial dilutions and general soil extractions using a
chemical test kit on all samples from Trial 2 “Before”. Serial dilutions and
general soil extractions from a certain trial must be completed at the same
time.

16.
Perform sulfate chemical test using a chemical test kit on all samples from
Trial 2 “Before".
Observe and record data in data table.
17.
48 hours after sulfate solution has been applied onto soil, collect 3 soil core
samples from each
plot using a soil core extractor. Follow steps 4-6 to properly extract the soil.
These samples should
have bags labeled “After”. See Picture No. 1 listed under step 1 of procedures.

18.
At least 24 hours after testing Trial 2 “Before” samples, perform serial
dilutions and general soil extractions using a chemical test kit on all samples
from Trial 3 “Before”.
Serial dilutions and general soil extractions from a certain trial must be completed at the same time.
Click link to see how to create a data table for these calculations.
20.
Repeat steps 13-16 for soil core “After” samples following same time restraints
as the “Before”
samples.