Soil Ecology Protocols
E.S.S.R.E. follows a modified variation of the
Smithsonian
Institution's Monitoring and Assessment of Biodiversity Program
protocol. Using 20 meter by 20 meter plots divided into four quadrats, we perform a general biota survey for 22 environmental factors in the soil
ecosystem. These include:
| Calcium |
pH |
Phosphorus |
Sulfate |
| Potassium |
Ferric Iron |
Magnesium |
Yeast |
| Chloride |
Aluminum |
Manganese |
Algae |
| Nitrite |
Nitrate |
Ammonia |
Soil Texture |
| Heterotrophic bacteria |
Mold |
Protozoa |
|
| Arthropods |
Plant Diversity |
Annelids |
|
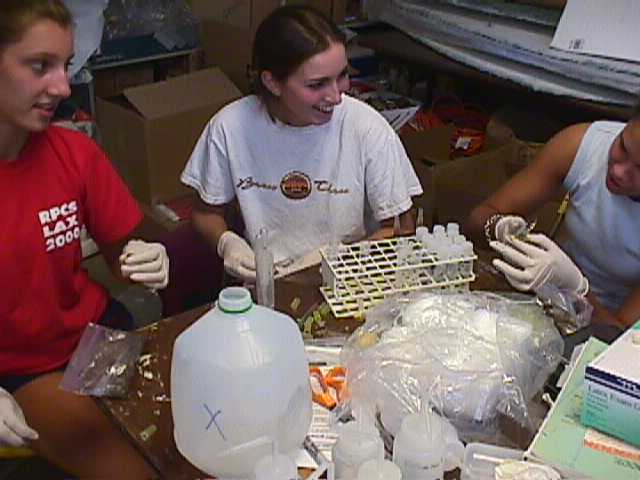
We use the LaMotte
STH-14 Series soil test kit to determine the various inorganic and salt levels
and a standard transect analysis for plant diversity. For the remaining
items, we use the following protocols adapted from Methods for the
Examination of Organismal Diversity in Soils and Sediments (CAB
International, 1996) for the high school laboratory. For inexpensive
alternatives to the more costly of these protocols, see our
"low-tech"
serial dilutions,
"low-tech" protozoa extraction, and
"low-tech" arthropod procedures.
Over the course of the program, protocols have been changed and improved in
order to attain more accurate results. The years in which each arthropod density
and diversity protocol was used is indicated below.
I. Estimating Soil Heterotrophic
Bacteria, Yeast, & Mold Densities
For
all three of these groups of organisms, the standard protocol is to perform a
serial dilution of a soil extract in sterile water. The step-by-step
procedure for doing so is as follows:
-
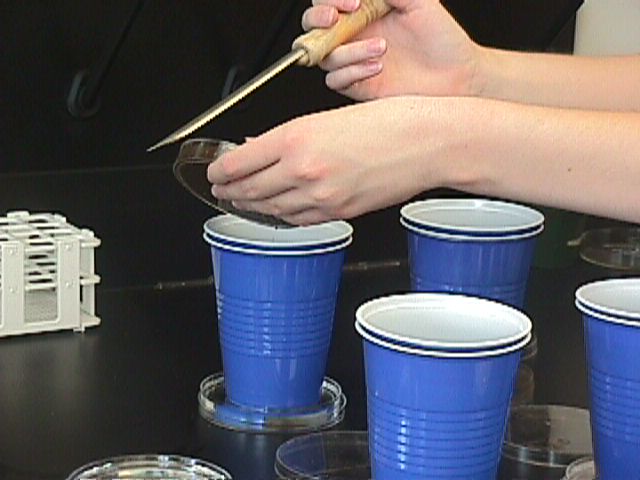
 Place 1 cc of your soil sample into a culture tube containing 10 ml
of sterile water; cap the tube and shake vigorously.
Place 1 cc of your soil sample into a culture tube containing 10 ml
of sterile water; cap the tube and shake vigorously.
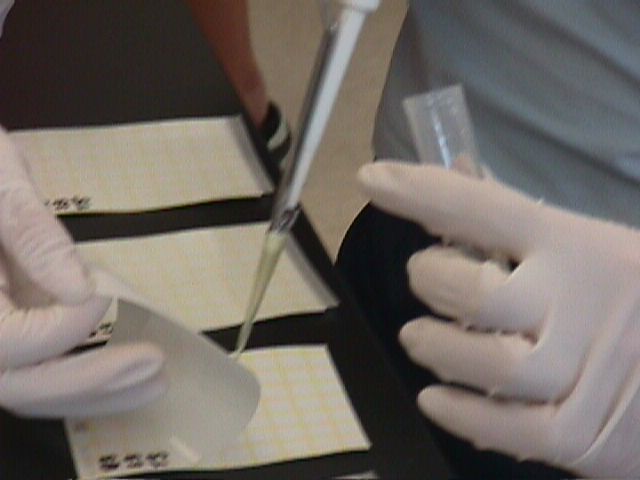
- Using a serological pipette, remove 1 ml of the soil/water mixture
and place into a fresh culture tube.
- Add 9 ml of fresh sterile water to this second tube; cap and shake
vigorously.
- Repeat step 2 using the second, diluted tube and then repeat step 3
with this third tube.
- Continue step 4 with each additional tube until you have diluted the
original soil/water mixture a minimum of four times (a 10-4
dilution). You should now have a total of five culture tubes.
- Plate 100 µl samples from the 4th and 5th
tubes (dilutions 10-3 & 10-4) onto their own
separate, individual petri plates filled with nutrient agar and allow to
incubate at room temperature over night.
- Examine each of the plates for individual bacteria colonies and
choose the plate with the fewest colonies to make your estimates of the
number of bacteria in the original 1 cc soil sample (# colonies on plate
C 102 = # of bacteria in
dilution tube; # of bacteria in dilution tube C
10 |# of dilutions| = # of bacteria in original sample tube).
- If there are not individual colonies but still a "lawn" at
the 10-4 dilution, repeat steps 1-6, adding a 5th
dilution, 6th dilution, etc. as necessary until individual
colonies are observed.
II. Estimating Soil Protozoa Density
- Place a 2 cm diameter X 15 cm core sample of soil into the bottom of a clean, empty
petri dish; and allow to dry completely.
- Sift 9-10 g of the soil into a 2nd clean petri dish
using a 1 mm2 nylon screen or mesh.
- Add 20 ml of distilled water to saturate the soil
- Cover the petri dish with its lid and allow to sit for 7 hours.
- Place the soil sample in a modified Uhlig extractor containing 30 ml
of distilled water for 24 hours.
- Remove the filtrate and filter a 2nd time using 12.5 cm
qualitative filter paper.
- Using a capillary tube, deposit 7 µl of methyl-green stain on a
clean microscope slide (1 µl = 1 drop from the capillary tube). Then
using a disposable graduated Beral-type pipette, add 18 µl (the first
demarcation on the pipette) of the 2nd filtrate from step 6
to the stain on the microscope slide and cover with an 18 x 18 mm2
cover slip.
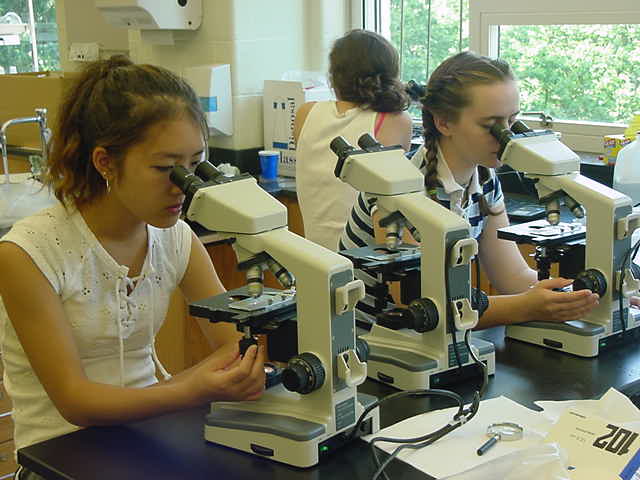
- Examine under a light microscope at 40X (or 100X for qualitative observations) of the various protozoa living in the
soil.
- Use the following equation to determine the population density of
protozoa in the soil sample:
- [(# per field of view at 40X) • (total ml of water used) • 747] ¸
(grams of sifted soil ) = # of protozoa per gram of soil
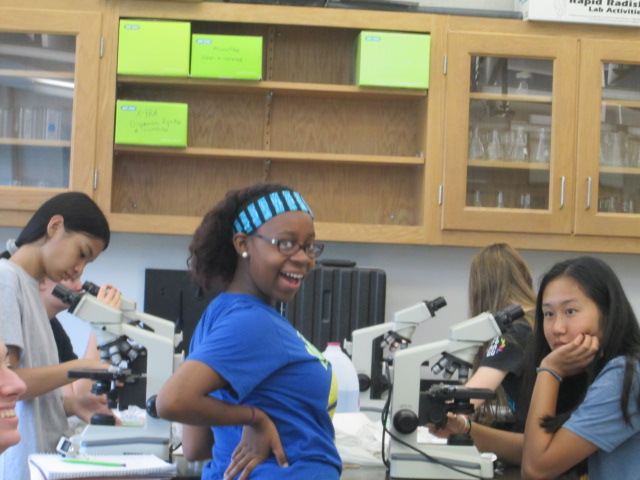
III. Estimating Soil Algae Density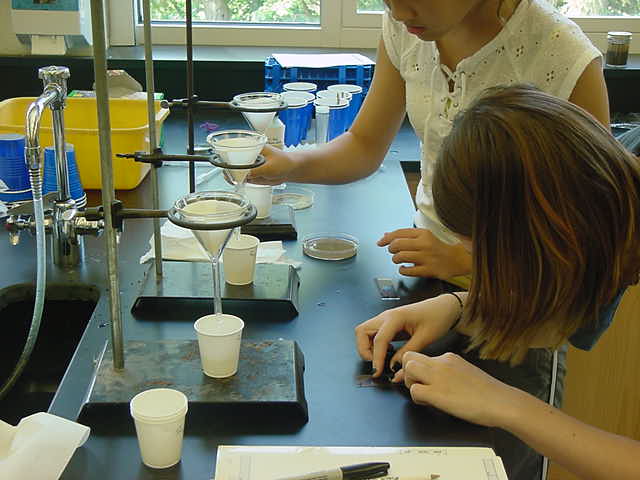
Method used from 2001-2016
-
Collect
36 clean glass slides, 12 white marker flags, a permanent marker, distilled
water and rubber bands.
- On 3
of the clean slides, use a ruler and measure from the top of the slide, 1.5
cm down, and mark this point with a permanent marker.
- Insert
longer portion of the slide into the soil until the mark is a the level of
the soil, leaving 1.5 cm of the microscope slide exposed.
- Place
a white flag next to the slide to make it easy to collect the slide at a
later time.
- After
all algae slides are in place in the soil, let slides sit in the soil for 2
days.
- After
48 hours, CAREFULLY remove the slide from the soil and rinse off excess
particulates and debris using
distilled water.
- Take
2 additional clean slides and place on one on either side of the algae slide.
- Secure
with a rubber band for purposes of carrying back to the lab.
- In the lab,
carefully dry the outside slides and place the 3 still sandwiched together
onto the stage of a compound light microscope.
- At
40X, count the number of algae (will have a
blue-green hue) in the field of view and record.
- Move
the slide to a different field of view and repeat step 10.
- Repeat
steps 10 & 11 until at least 5 unique fields of view have been
observed.
- Average the 5 algae
counts and divide this number by 17.3 mm2 to determine the number
of algae per mm2 of soil..
Method used in 2017
-
Collect 36 clean glass slides, 12 white marker flags, a
permanent marker, distilled water and rubber bands.
-
On 3 of the clean slides, use a ruler and measure from the
top of the slide, 1.5 cm down, and mark this point with a permanent marker.
-
Insert longer portion of the slide into the soil until the
mark is at the level of the soil, leaving 1.5 cm of the microscope slide
exposed.
-
Place a white flag next to the slide to make it easy to
collect the slide at a later time.
-
After all algae slides are in place in the soil, let slides
sit in the soil for 2 days.
-
After 48 hours, CAREFULLY remove the slide from the soil and
rinse off excess particulates and debris using distilled water.
-
Take 2 additional clean slides and place on one on either
side of the algae slide.
-
Secure with a rubber band for purposes of carrying back to
the lab.
-
In the lab, remove the sandwich slides and dip and swirl the
original slide in a 500m beaker of distilled water to remove any remaining dirt.
-
Dip one of the sandwich slides in water as well and re-sandwich the bottom of
the original slide.
-
Then, carefully dry the outside slides and place the 3 still sandwiched together
onto the stage of a compound light microscope.
-
At 40X, count the number of algae (will have a blue-green hue) in the field of
view and record.
-
Move the slide to a different field of view and repeat step 10.
-
Repeat steps 10 & 11 until at least 5 unique fields of view have been observed.
-
15.
Average the 5 algae counts and divide this number by 17.3 mm2 to
determine the number of algae per mm2 of soil.
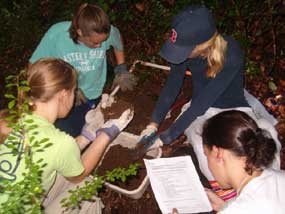
IV. Estimating Arthropod Density & Diversity

- Place a 1/2 meter x 1/2 meter grid on the soil you wish to survey.
- Carefully remove any plant material or leaf litter from within the grid
and sort through it by hand, identifying and recording any arthropods found
in this material (a good
dichotomous key is available from the American Museum of Natural
History).
- Next, use hand trowels to remove the soil inside the grid to a depth of
15 cm. and place the soil into a tub for sorting.
- Remove handfuls of the soil from the tub and sort by hand, identifying
and recording any arthropods found and keeping a running tally of how many
earthworms are found.
- Remove handfuls of the soil from the tub and sort by hand, identifying
and recording any arthropods found and keeping a running tally of how many
earthworms are found.
- To estimate the number of earthworms and each category of arthropods per
square meter, multiply all final values by 4.
V. Estimating Annelid Density
- Place
a half meter by half meter frame onto the soil being studied and use gloves
to clear all ground clutter and cover, carefully checking for any annelids.
- With
a trowel and a ruler, excavate the 0.5 m X 0.5 m square to a depth of 15 cm, carefully placing all removed soil in a bin.
- Once
the hole is 15 centimeters deep begin filling the hole again with the soil
in the bin while checking thoroughly for any annelids and recording the
number found.
- Once
everything is sifted through, gently pat the soil down and replace the ground cover.
- Multiply
the recorded values by 4 to determine the number of each group of annelids
per square meter of soil.
VI. Soil Texture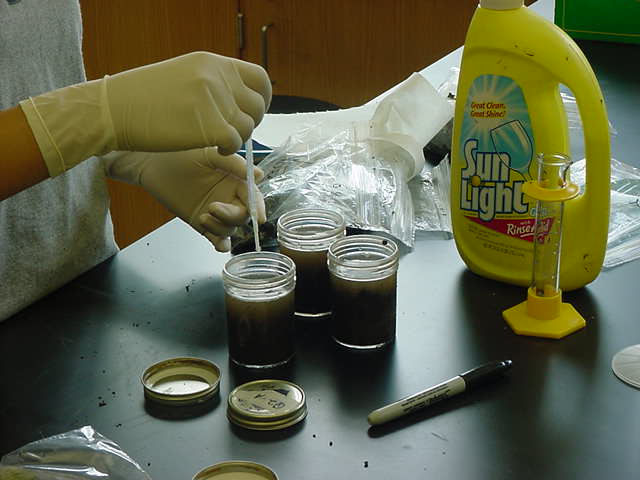
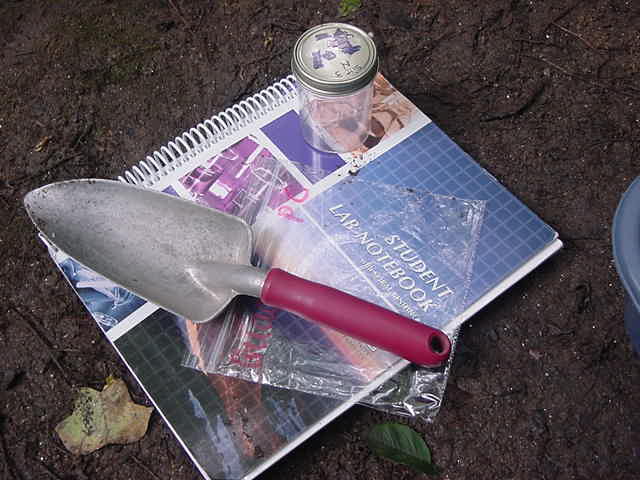
- Collect a sample of soil using a
trowel (the amount depends on the size of jar used; you want enough soil to
fill your choice of container 3/4 full).
- Place the soil in a flat sided, flat
bottom jar or other container where the sides and the bottom form an exact
90 degree angle (we use plastic urinalysis sample jars; they have a nice
seal, are inexpensive, and reusable).
- Add water to the jar until about 1
cm from the top of the jar (tap or distilled water may be used).
- Using a pipette, add 3-5 drops of
commercial dishwashing detergent (or other detergent that contains
phosphates) to the soil-water mixture.
- Cap the jar and shake vigorously
until well mixed.
- Let sit for several hours until
completely settled.
- There should be 4 different layers
in the jar- sand, silt, clay and water (in that order from the bottom up).
- The sand layer will be at the bottom
of the jar, and will probably be either a lighter color than the silt layer
or may be the same color, but
 will have a grainy texture.
- The silt layer will be the second to
bottom and will look smooth and will have a dark brown color.
- The clay layer will look extremely
smooth and be above the silt layer, and should be a lighter tan color.
- Above the clay is the remaining
water from the jar.
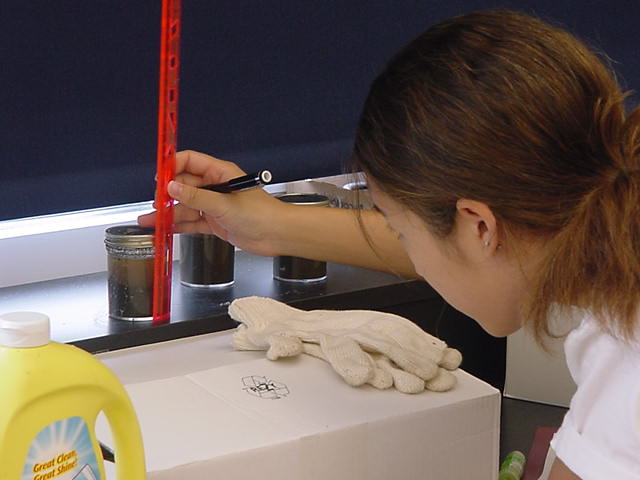
- Using a ruler, measure from the
bottom of the sand layer to the top of the clay layer. Record this
measurement in cm.
- Measure the length of column of each
individual layer (sand, silt, clay) and record each individual measurement
in cm.
- Divide each individual measurement
by the total measurement for the sand-silt-clay layers to find the
percentage of each different type of soil in the sample.