Procedure For Inexpensive Serial Dilutions
What follows is a way to examine soil microbes with minimal equipment and cost. The materials listed and the methods described are for one student performing one experiment. To determine what is needed for a class of students or for more than one experiment, simply multiply each item on the list accordingly. Try it out, and let us know how it works for you!
Materials For 1 Serial Dilution for 1 Soil Sample:
23 ml sterile water
1 microcentrifuge tube
2 15 ml culture tubes
1 sheet Aerobic bacteria 3M Petrifilmä
1 sheet Yeast/Mold 3M Petrifilmä
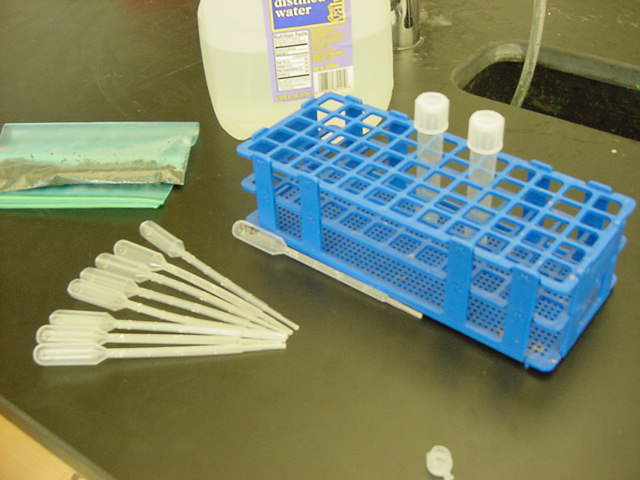
8 Graduated Beral-Type Disposable Pipettes (Graduated to 100 ml)
1 permanent marker
Scissors
Test Tube Rack
Procedure:
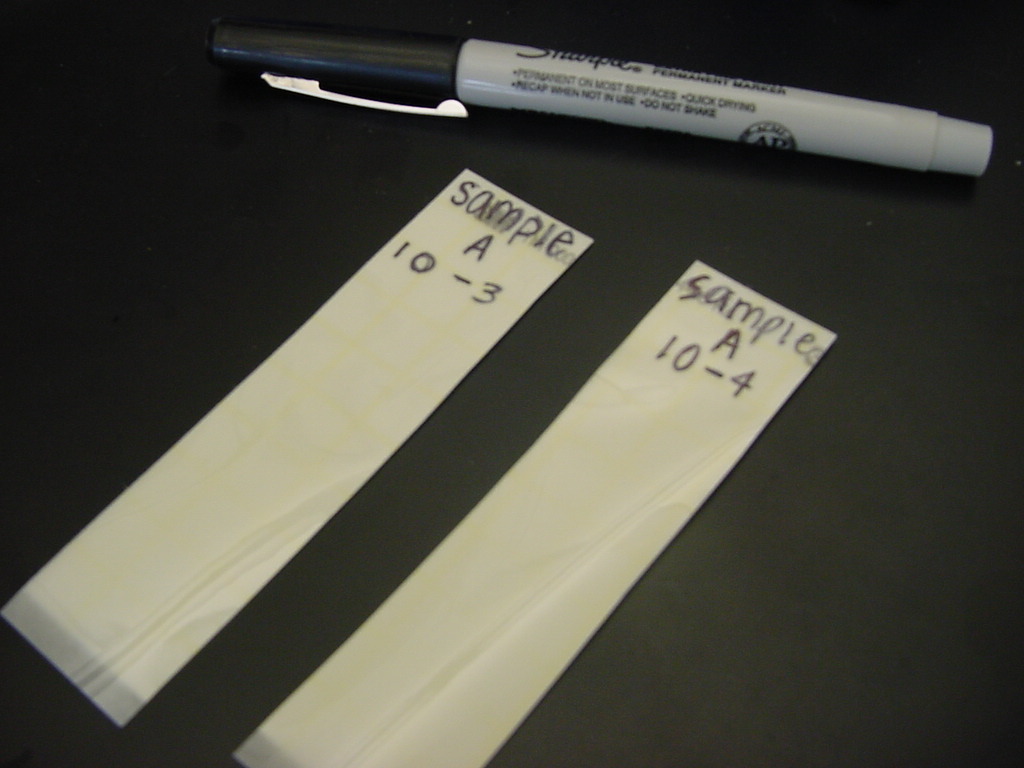
3.a For bacteria dilutions: at the top of the first third of a sheet, label it with the sample # and a dilution factor of 10-3. Label the second third of a sheet with the sample # and a dilution factor of 10-4. Reserve remaining third of sheet for any future dilutions.
b. For yeast/mold dilutions: at the top of the first third
of a sheet, label it with the sample # and a dilution factor of 100.
Label the second third of a sheet with the sample # and a dilution factor of 10-1.
Label the last third of the sheet with the sample # and a dilution factor of 10-2.
4. Set sheets aside to use for plating in later steps.
5. Using one clean pipette transfer 0.5 ml of water into a microcentrifuge tube.
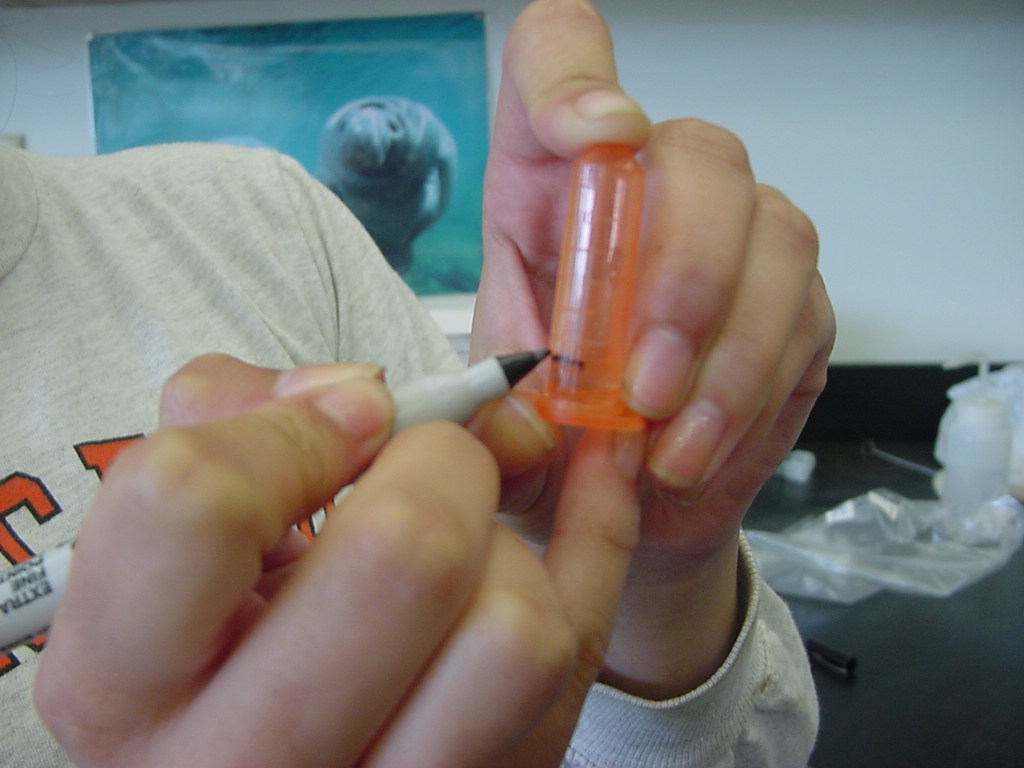
6. Cap the tube and turn it cap-side down and mark the water line with a permanent marker.
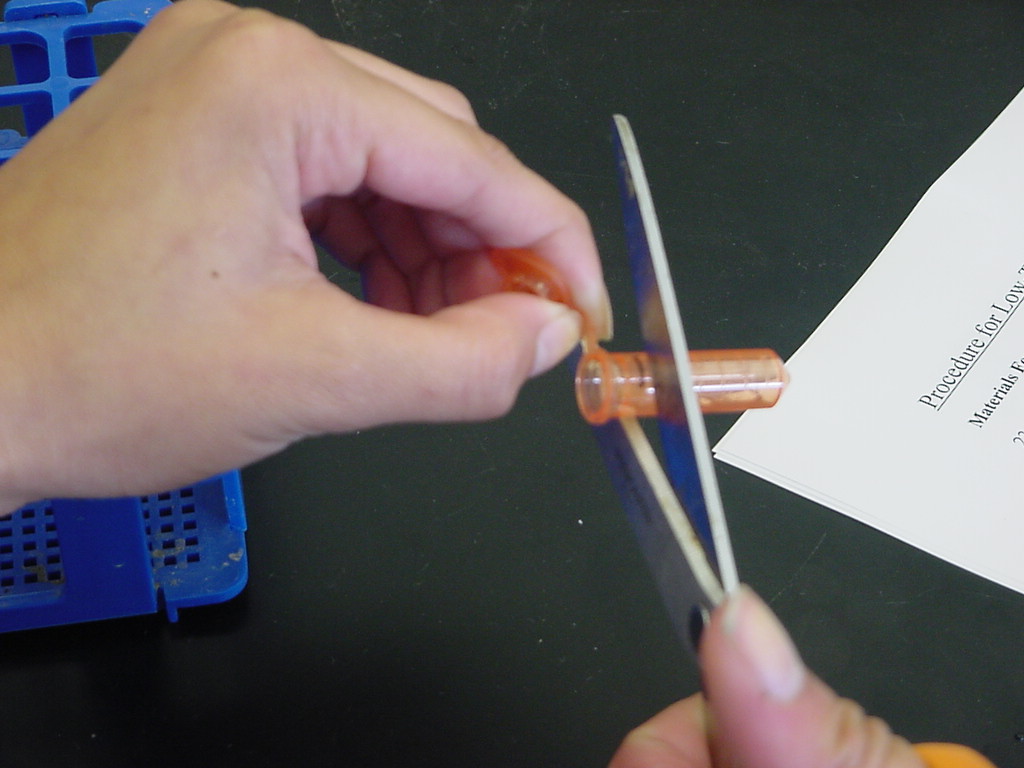 7.
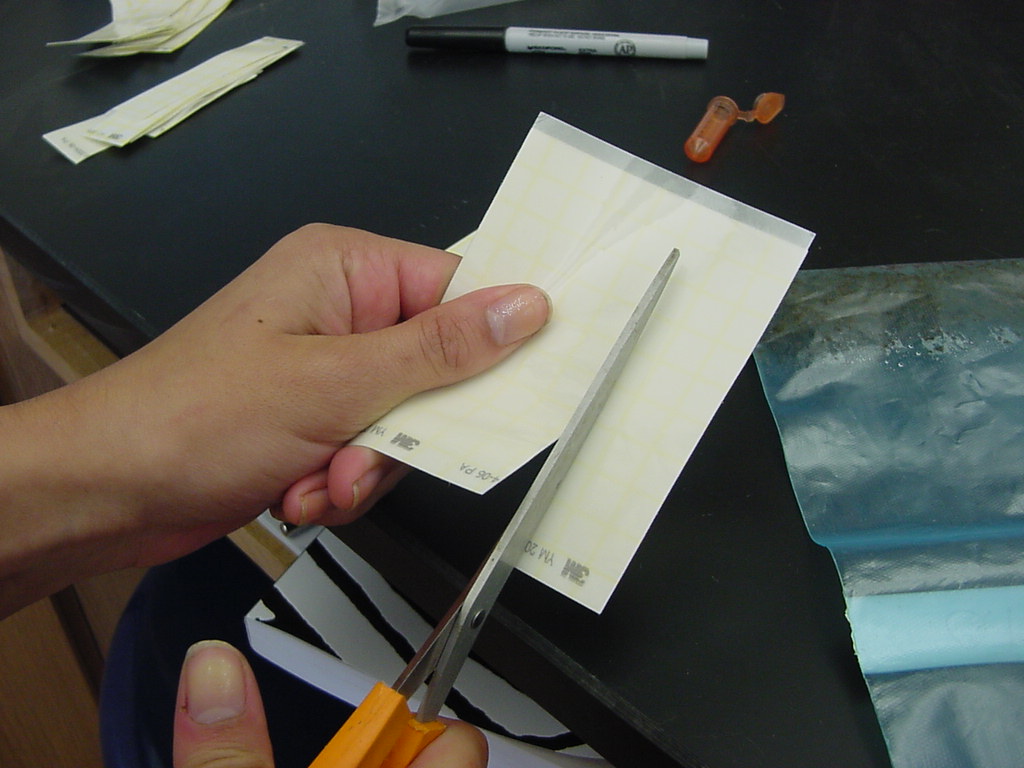
Pour the water out and cut the microcentrifuge tube in half along the waterline
mark using scissors. Note: Be sure to use sharp scissors.
7.
Pour the water out and cut the microcentrifuge tube in half along the waterline
mark using scissors. Note: Be sure to use sharp scissors.
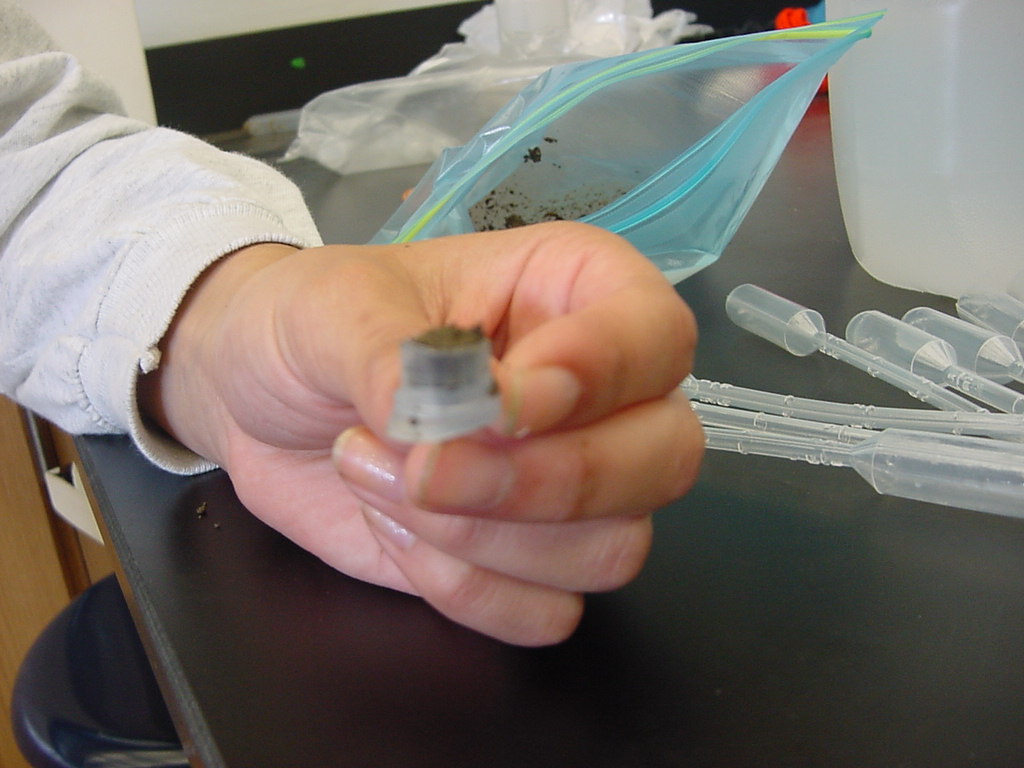
8. Keep the end with the cap. This is your 0.5 cc soil scoop.

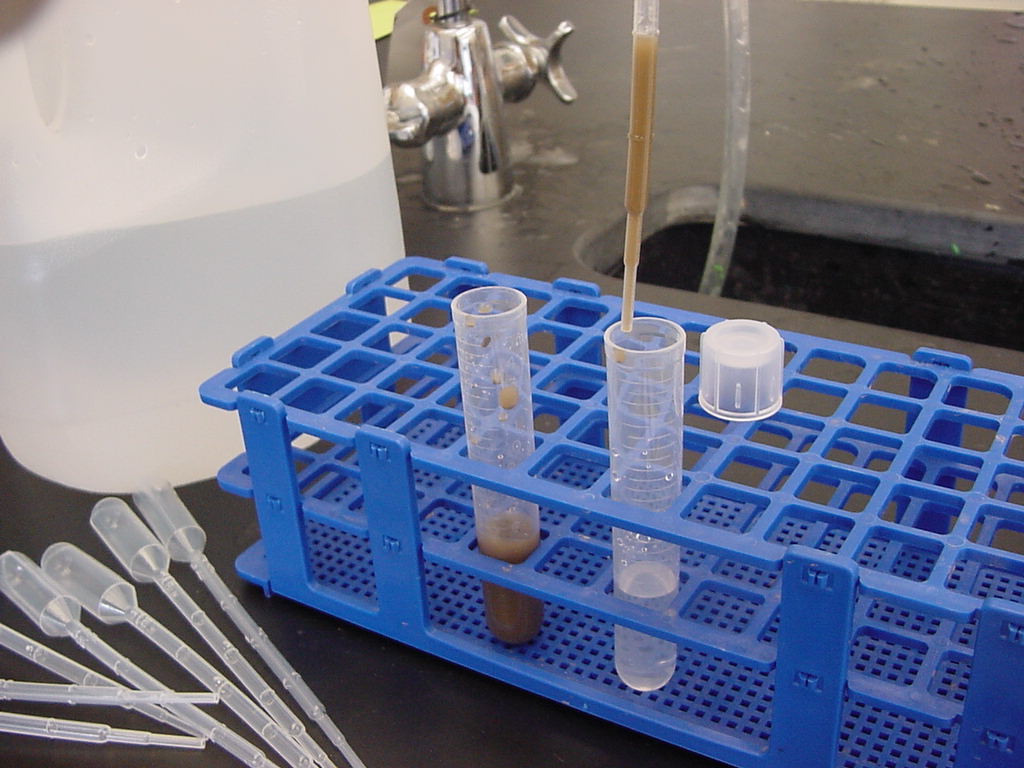
9. Using a new, clean pipette, transfer 5 ml of sterile water into a 15 ml culture tube using the measurements on the side of the tube as a guide.
10. Set pipette aside. Keep this pipette to use with sterile water for all serial dilutions throughout the process. Hint: Label it with a permanent marker for this task to avoid possible confusion with other pipettes used in this process.
11. Use the soil scoop to fill one level scoop with soil from the sample
being tested. Invert contents and empty all of the soil into the 5 ml of sterile
water in the first culture tube. This is the100 diluted solution.
Note: You may have to open the cap and use a clean glass stirring rod to push
any remaining soil out. Be sure to wash and dry scoop and glass stirring rod
between each sample.
12. In the second culture tube use the pipette set aside for sterile water in step 9 to fill the tube with 4.5 ml of sterile water (use the measurements on the side of the tube to measure 4.5 ml).
13. Cap the tube containing the 100 diluted solution and shake it vigorously until the soil is evenly dispersed in the water.
 14.
a. Take a new, unused pipette and transfer 0.5 ml of the 100 diluted
solution from the first tube and place it into the second tube. The second tube
is now the 10 –1 diluted solution.
14.
a. Take a new, unused pipette and transfer 0.5 ml of the 100 diluted
solution from the first tube and place it into the second tube. The second tube
is now the 10 –1 diluted solution.
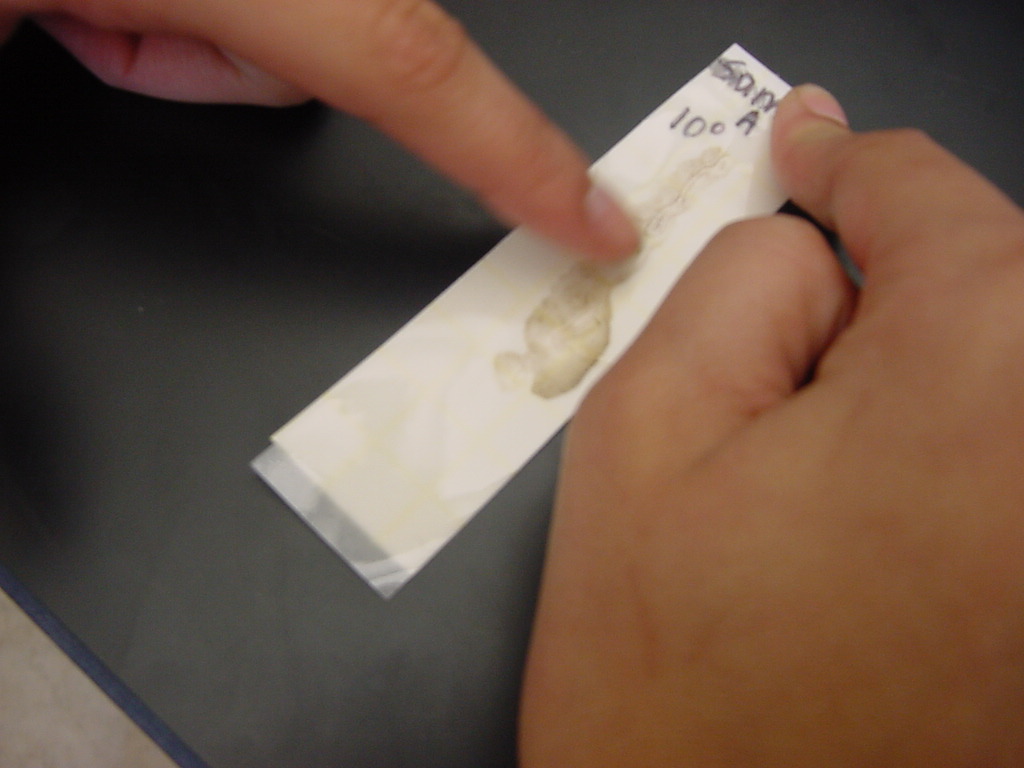
b. If you are testing for yeast
and mold levels stop the dilution process at this point and use a new, unused
pipette to transfer 100 µl
(this is the second indentation from the bottom of the pipette—see photo) of
solution from the tube co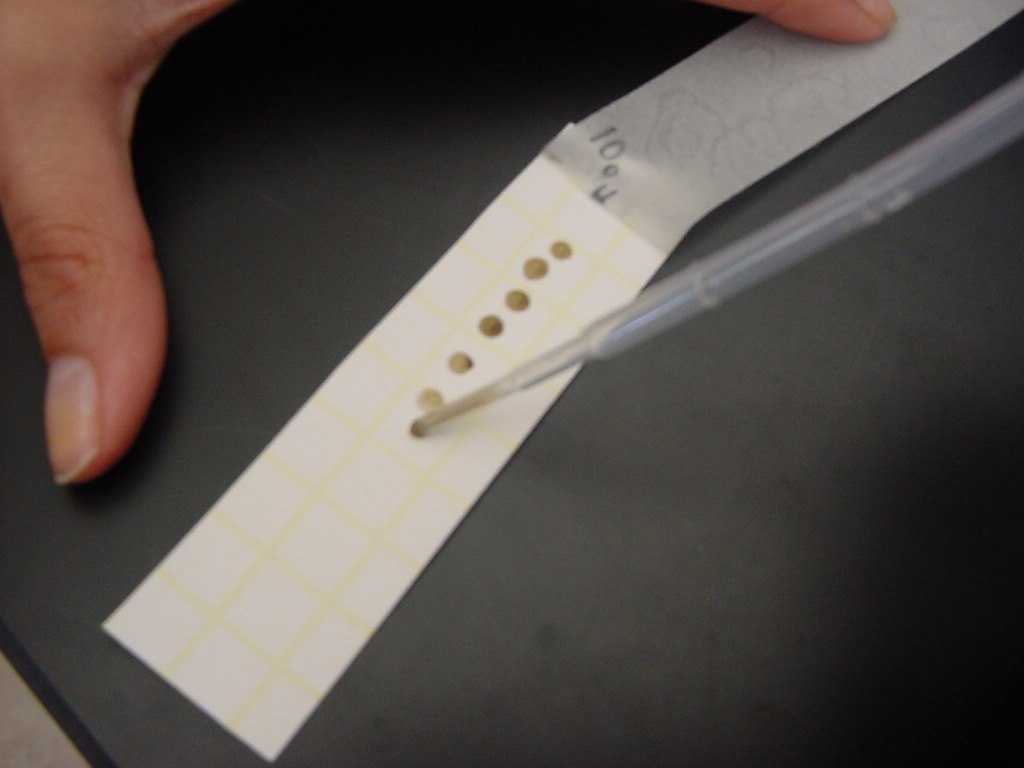 ntaining
100 diluted solution to the 3M Petrifilmä
sheet labeled with the sample # and the 100 dilution. To do this,
lift the cover of the 3M Petrifilmä
sheet, and distribute the 100 µl
in a series of small drops of the solution down the center of the 3M Petrifilmä
until all of the solution is out of the pipette. Place the cover back down over
the drops and press down on the sheet with a finger to distribute the solution
across the plate. Note: Control the spread of the solution to keep within the
edges of the sheet.
ntaining
100 diluted solution to the 3M Petrifilmä
sheet labeled with the sample # and the 100 dilution. To do this,
lift the cover of the 3M Petrifilmä
sheet, and distribute the 100 µl
in a series of small drops of the solution down the center of the 3M Petrifilmä
until all of the solution is out of the pipette. Place the cover back down over
the drops and press down on the sheet with a finger to distribute the solution
across the plate. Note: Control the spread of the solution to keep within the
edges of the sheet.
 15.
Now empty the contents of the tube containing 100 diluted solution,
and wash thoroughly with soap and water. BE SURE TO RINSE VERY THOROUGHLY
TO REMOVE ANY SOAP.
15.
Now empty the contents of the tube containing 100 diluted solution,
and wash thoroughly with soap and water. BE SURE TO RINSE VERY THOROUGHLY
TO REMOVE ANY SOAP.
16. Once the tube is cleaned, use the sterile water pipette from step 9 to add 4.5 ml of sterile water into this culture tube. This will become the tube containing the 10-2 diluted solution.
17. a. Using the same pipette as used in step 14 a, transfer 0.5 ml of the solution from the tube containing 10-1 diluted solution to the new 10-2 dilution tube.
b. If you are testing for yeast and mold levels stop the dilution process again at this point and repeat step 14 b. for the tube containing the 10-1 diluted solution and the tube containing the 10-2 diluted solution, being sure to plate each sample on the respective, appropriately labeled 3M Petrifilmä sheet.
18. Now clean the contents of the 10-1 dilution tube as per directions in step 15.
19. Use the same sterile water pipette from step 9 to place 4.5 ml of sterile water into the newly cleaned culture tube. This will become the tube containing the 10-3 diluted solution.
20. Shake the contents of the 10 –2 dilution tube and using the same pipette as in step 14 a (and 17 a), transfer 0.5 ml of solution from the tube containing the 10 –2 diluted solution into the 10 –3 tube.
21. Now empty the contents of the 10-2 dilution tube and wash thoroughly according to step 15.
22. Into the newly cleaned culture tube, place 4.5 ml of sterile water using the same sterile water pipette that was used earlier in steps 14 a, 17 a and 20. This will become the tube containing the 10-4 diluted solution.
23. Cap and shake the 10-3 dilution tube and then using the same pipette as in steps 9 and 19, transfer 0.5 ml of the solution from the tube containing the 10 –3 diluted solution into the 10 –4 dilution tube.
24. Using separate, new, unused pipettes, plate 100 ml from both the 10-3 and 10-4 diluted solutions onto their respective, correspondingly labeled 3M Petrifilmä sheets (as per step 14 b).
25. Empty and clean the 10 –3 and 10 –4 dilution tubes
as per step 15. These may now be reused for any other samples being tested.

26. Let 3M Petrifilmsä sit for 48-72 hours.
27. Follow instructions provided with the 3M Petrifilmä sheets to identify bacteria, yeast or mold colonies on the plated 3M Petrifilmä sheets. Determine which sheet contains the most diluted sample on which can be found between 5 and 30 colonies. Record the number of colonies and the corresponding dilution level of that sheet on which they were found. Note: A magnifying glass may aid in this process; if a standard nutrient agar plate is used instead of a 3M Petrifilmä sheet, use the traditional methods for identifying and counting individual colonies of bacteria, yeast and mold.
28. To determine the density of any of these microbes, use the data from the most diluted sample in which 5 or more colonies were found in the following equation:
# Microbes in 1 cc of soil = # Colonies on sheet x 102 x 10 | dilution # at which these colonies were found|.