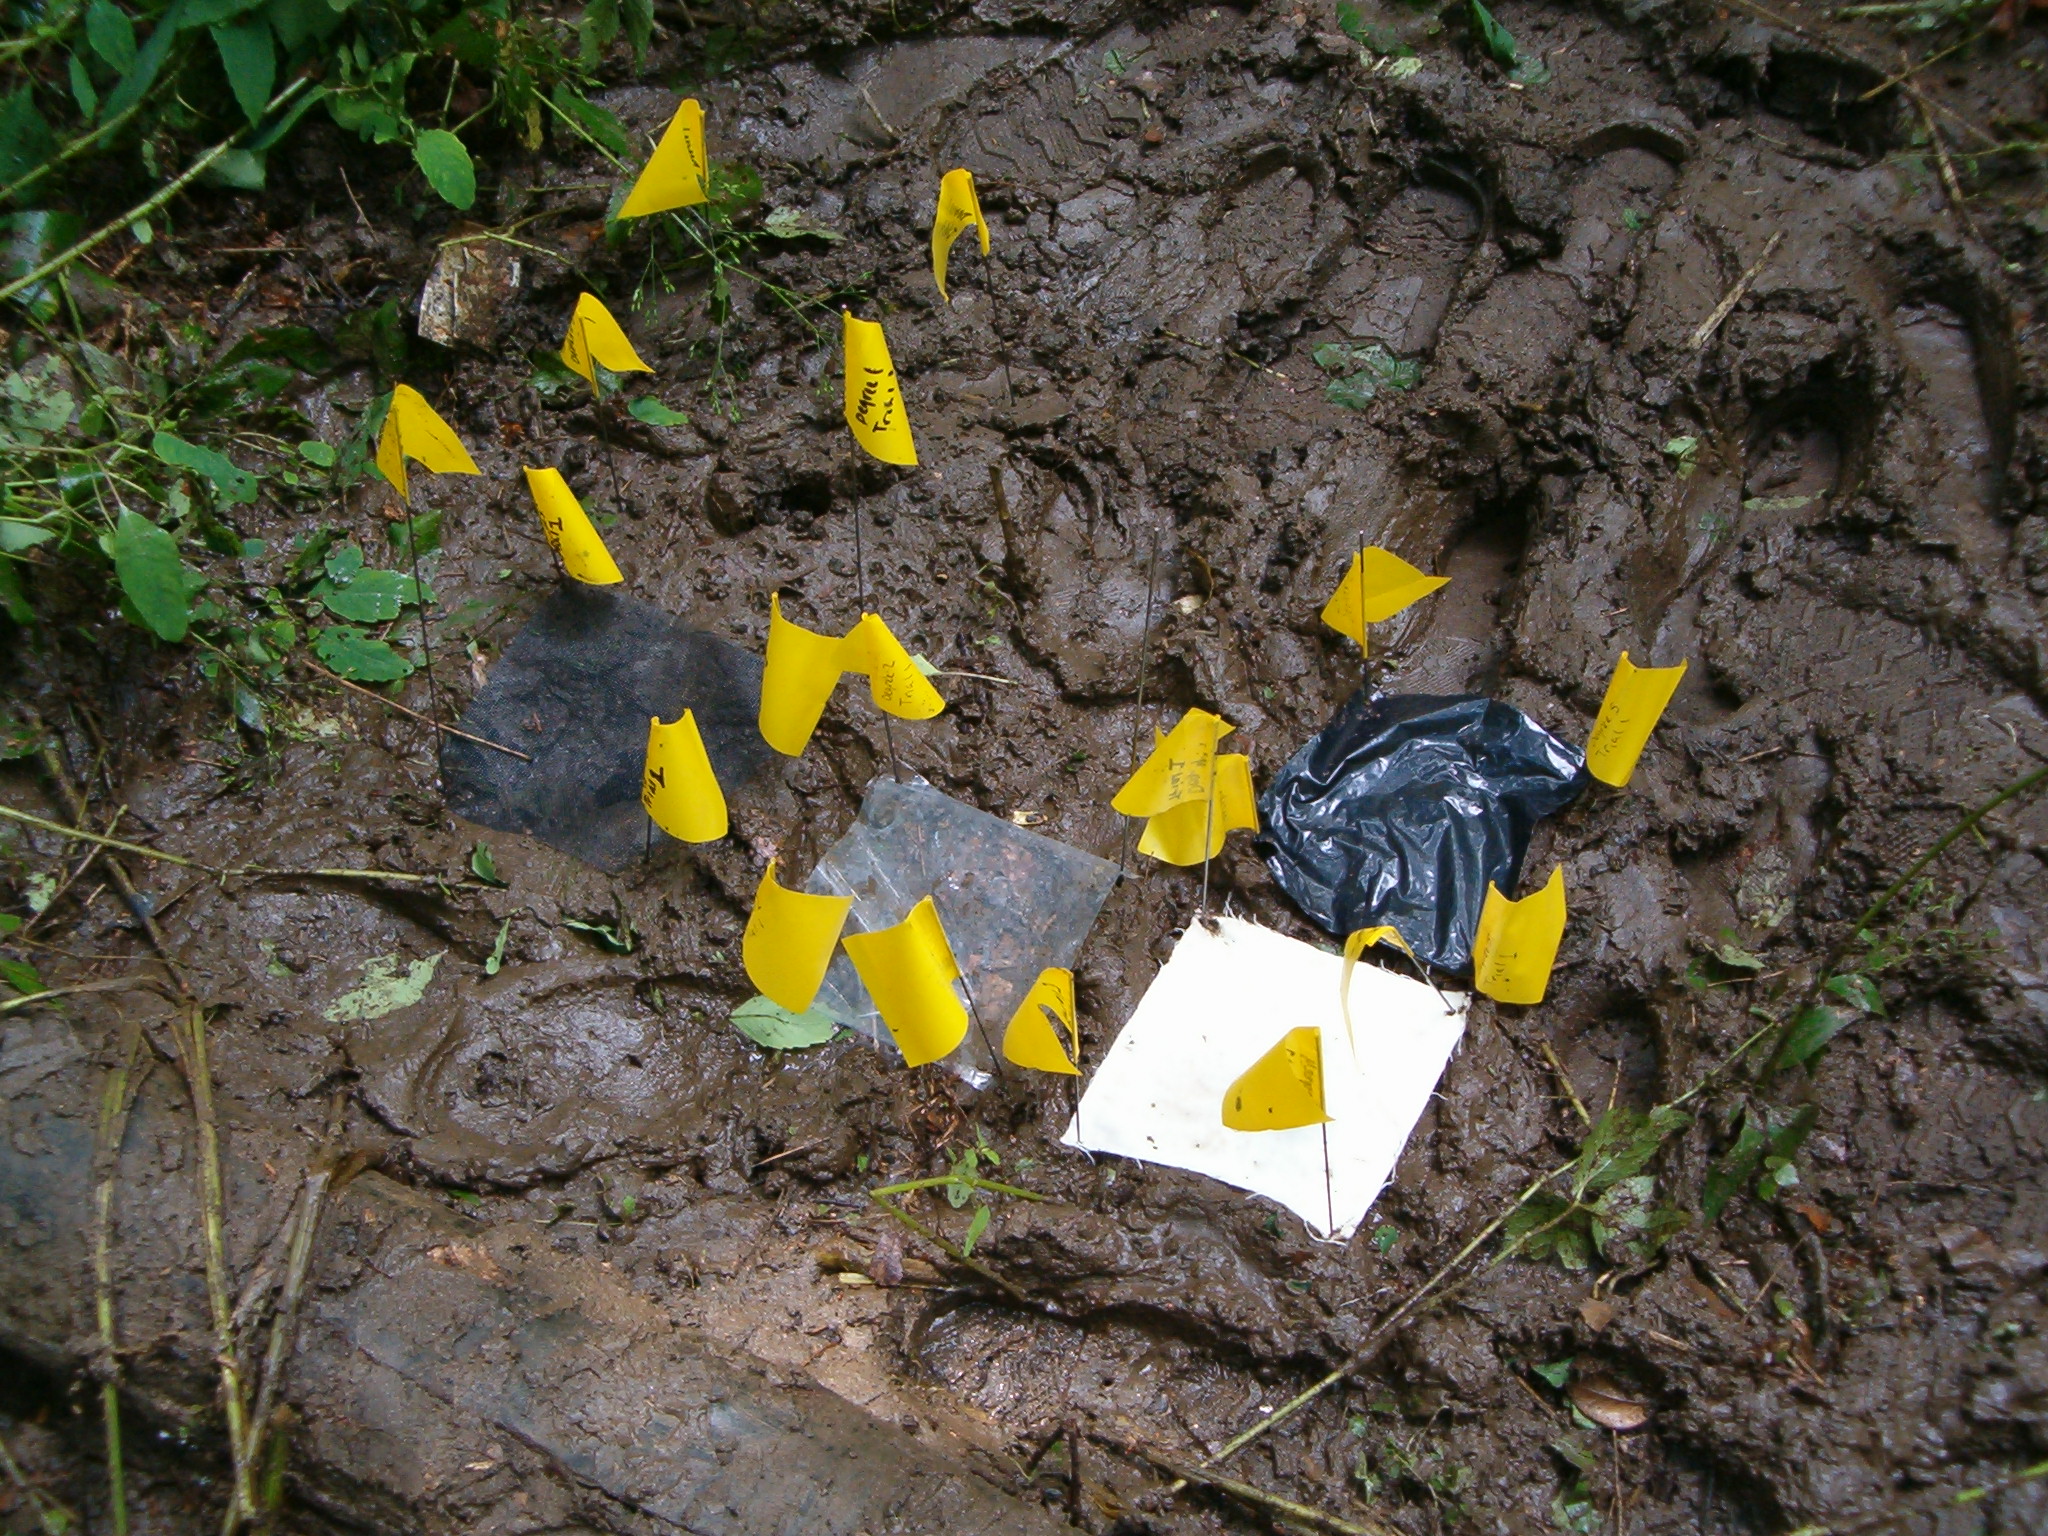
After taking all the uncontrolled soil samples cover the site with the
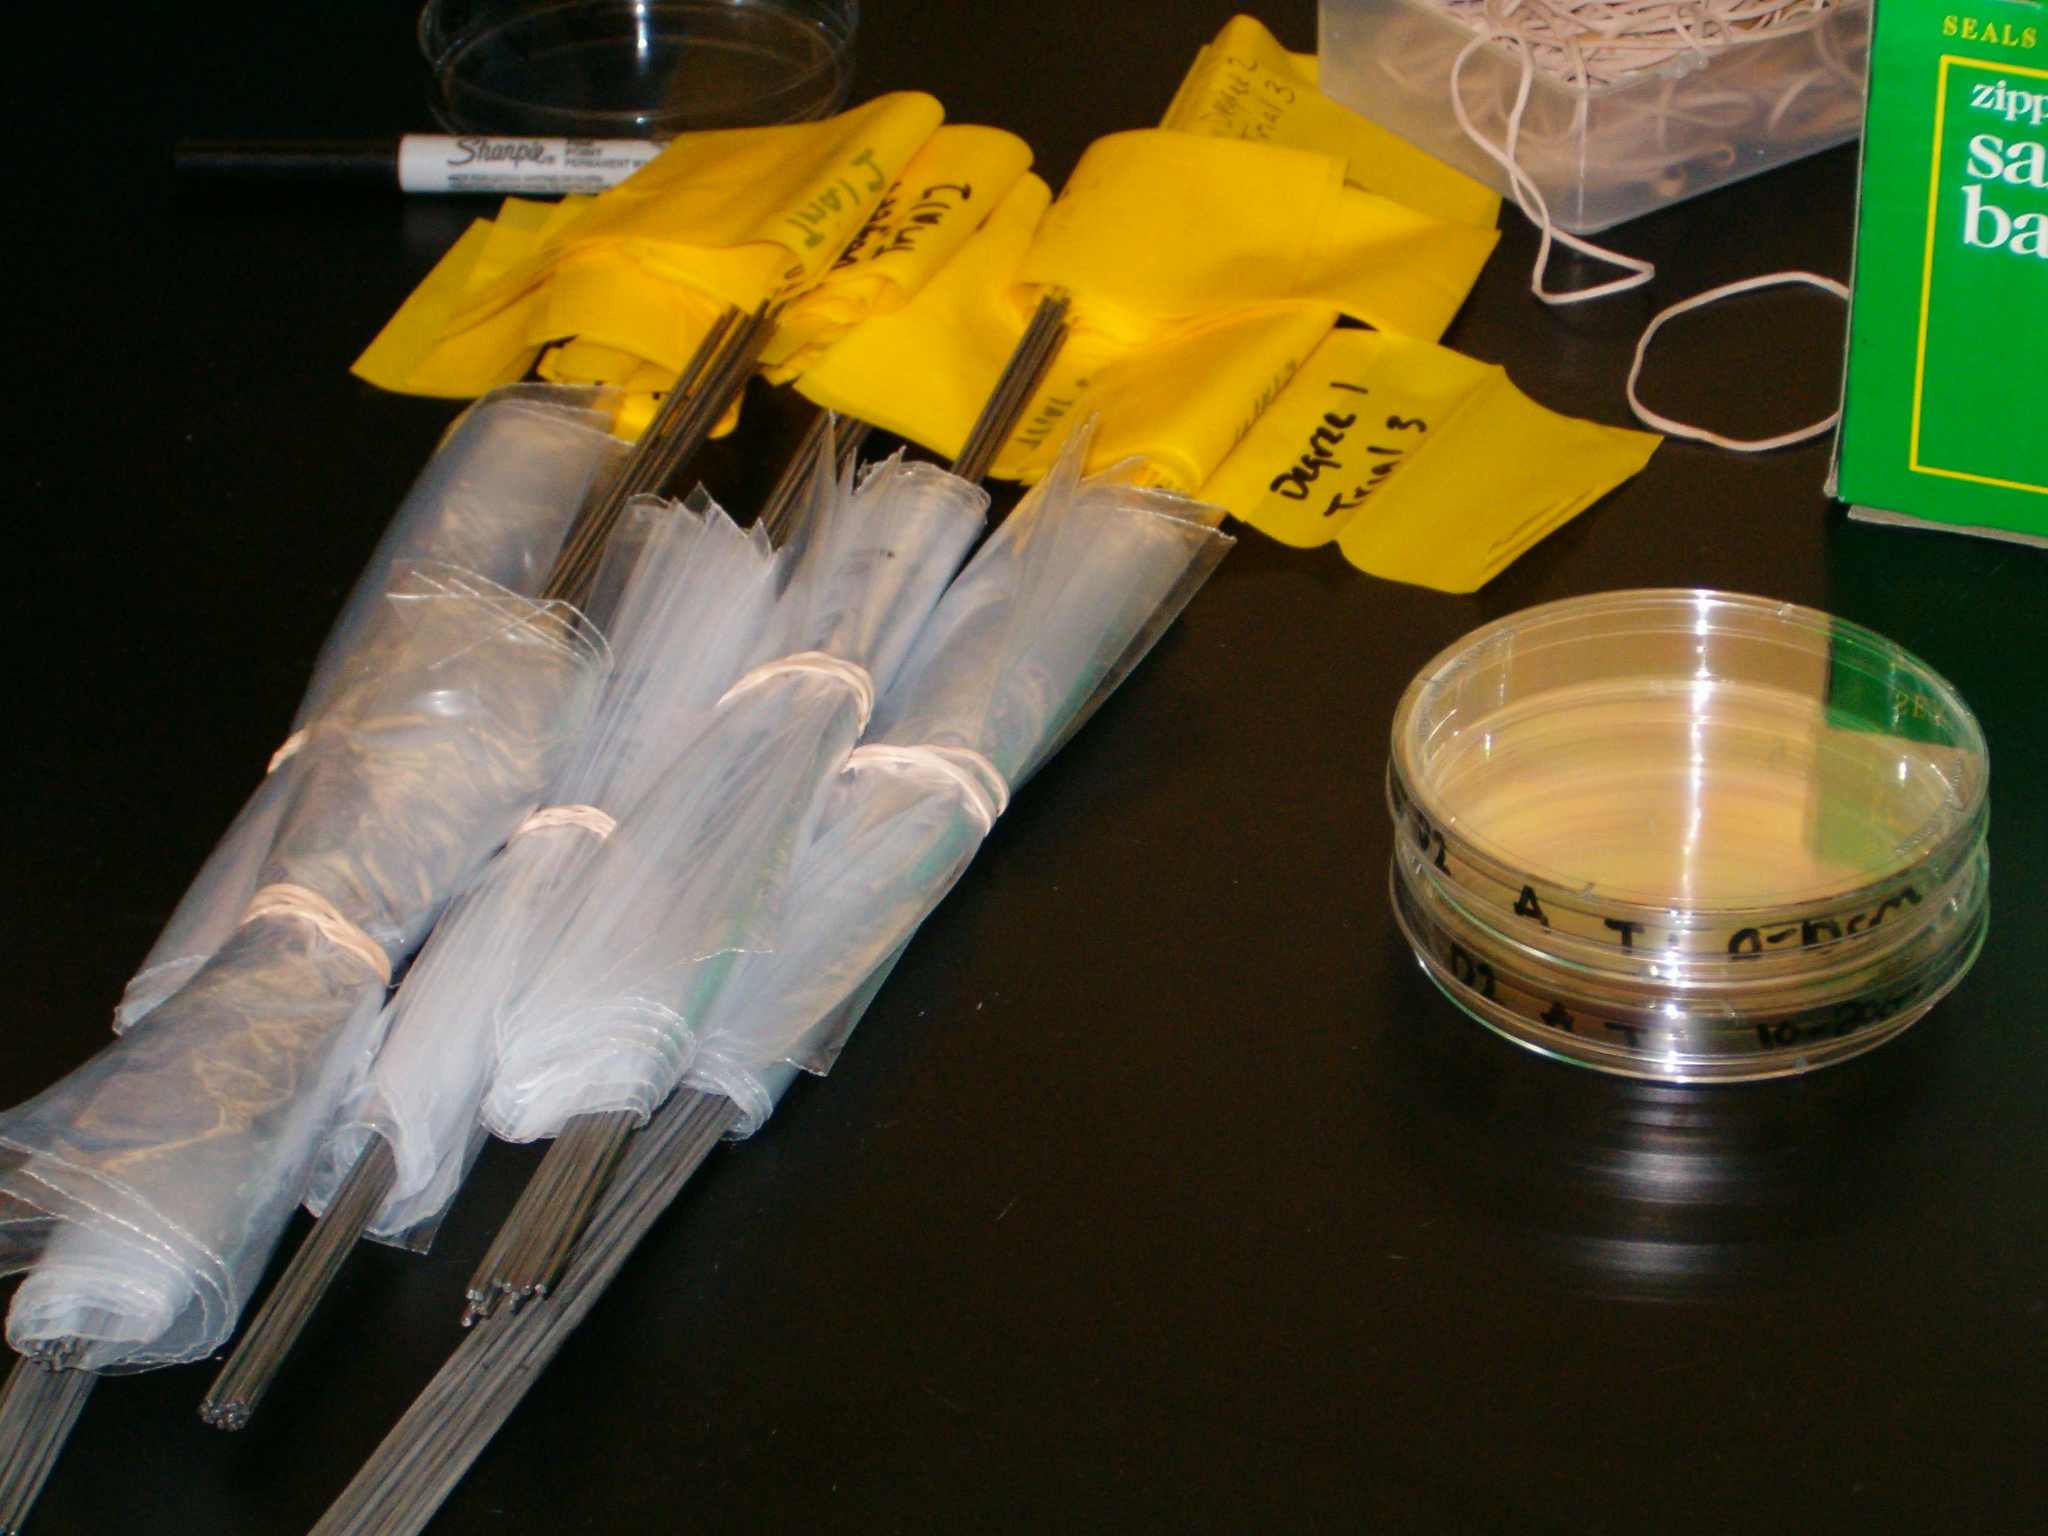
plastic cling wrap on the plot for degree 1 securing it on the
sides using the flags.
Do the same with the
saran wrap degree 2,
mesh (degree 3),white canvas,(degree 4)
and black plastic hefty bag (degree 5). Then do the same with site 2 and site 3.
Leave all the plots and sites untouched for 1 day
and the next day go and take soil samples as shown in step 6 except put them
in the bags that say "after" instead of "before".
Then test for the levels of protozoa in all the
different samples, before controlling and after controlling.
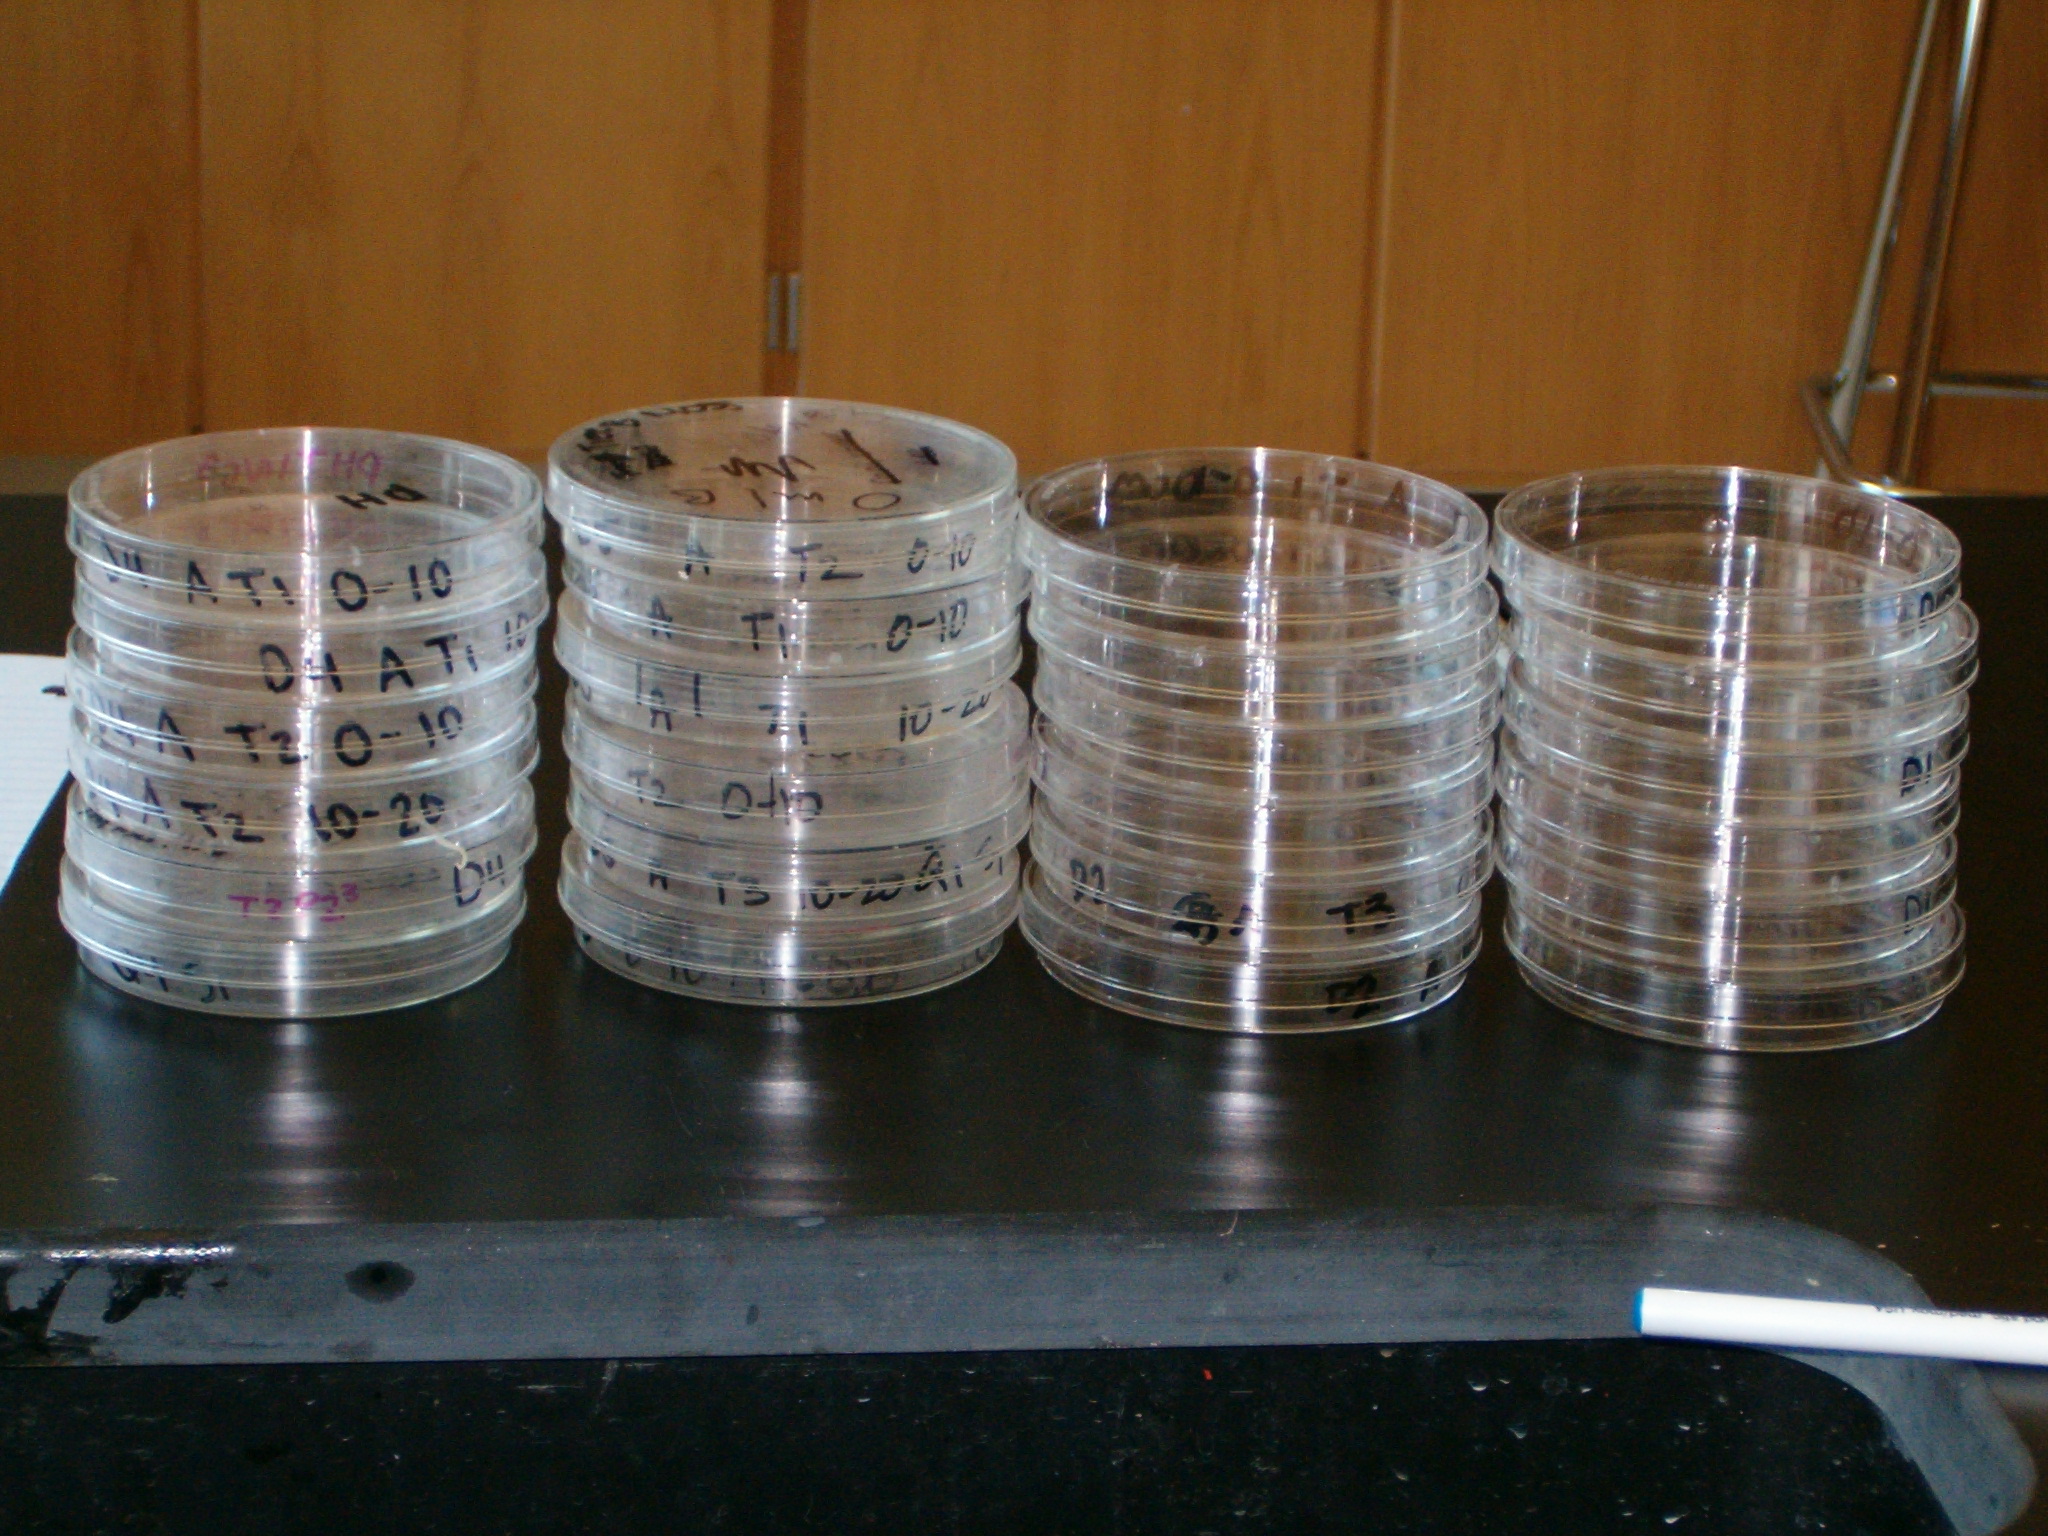
Place sample of soil into
the bottom of a clean, empty Petri dish; and allow to dry completely.
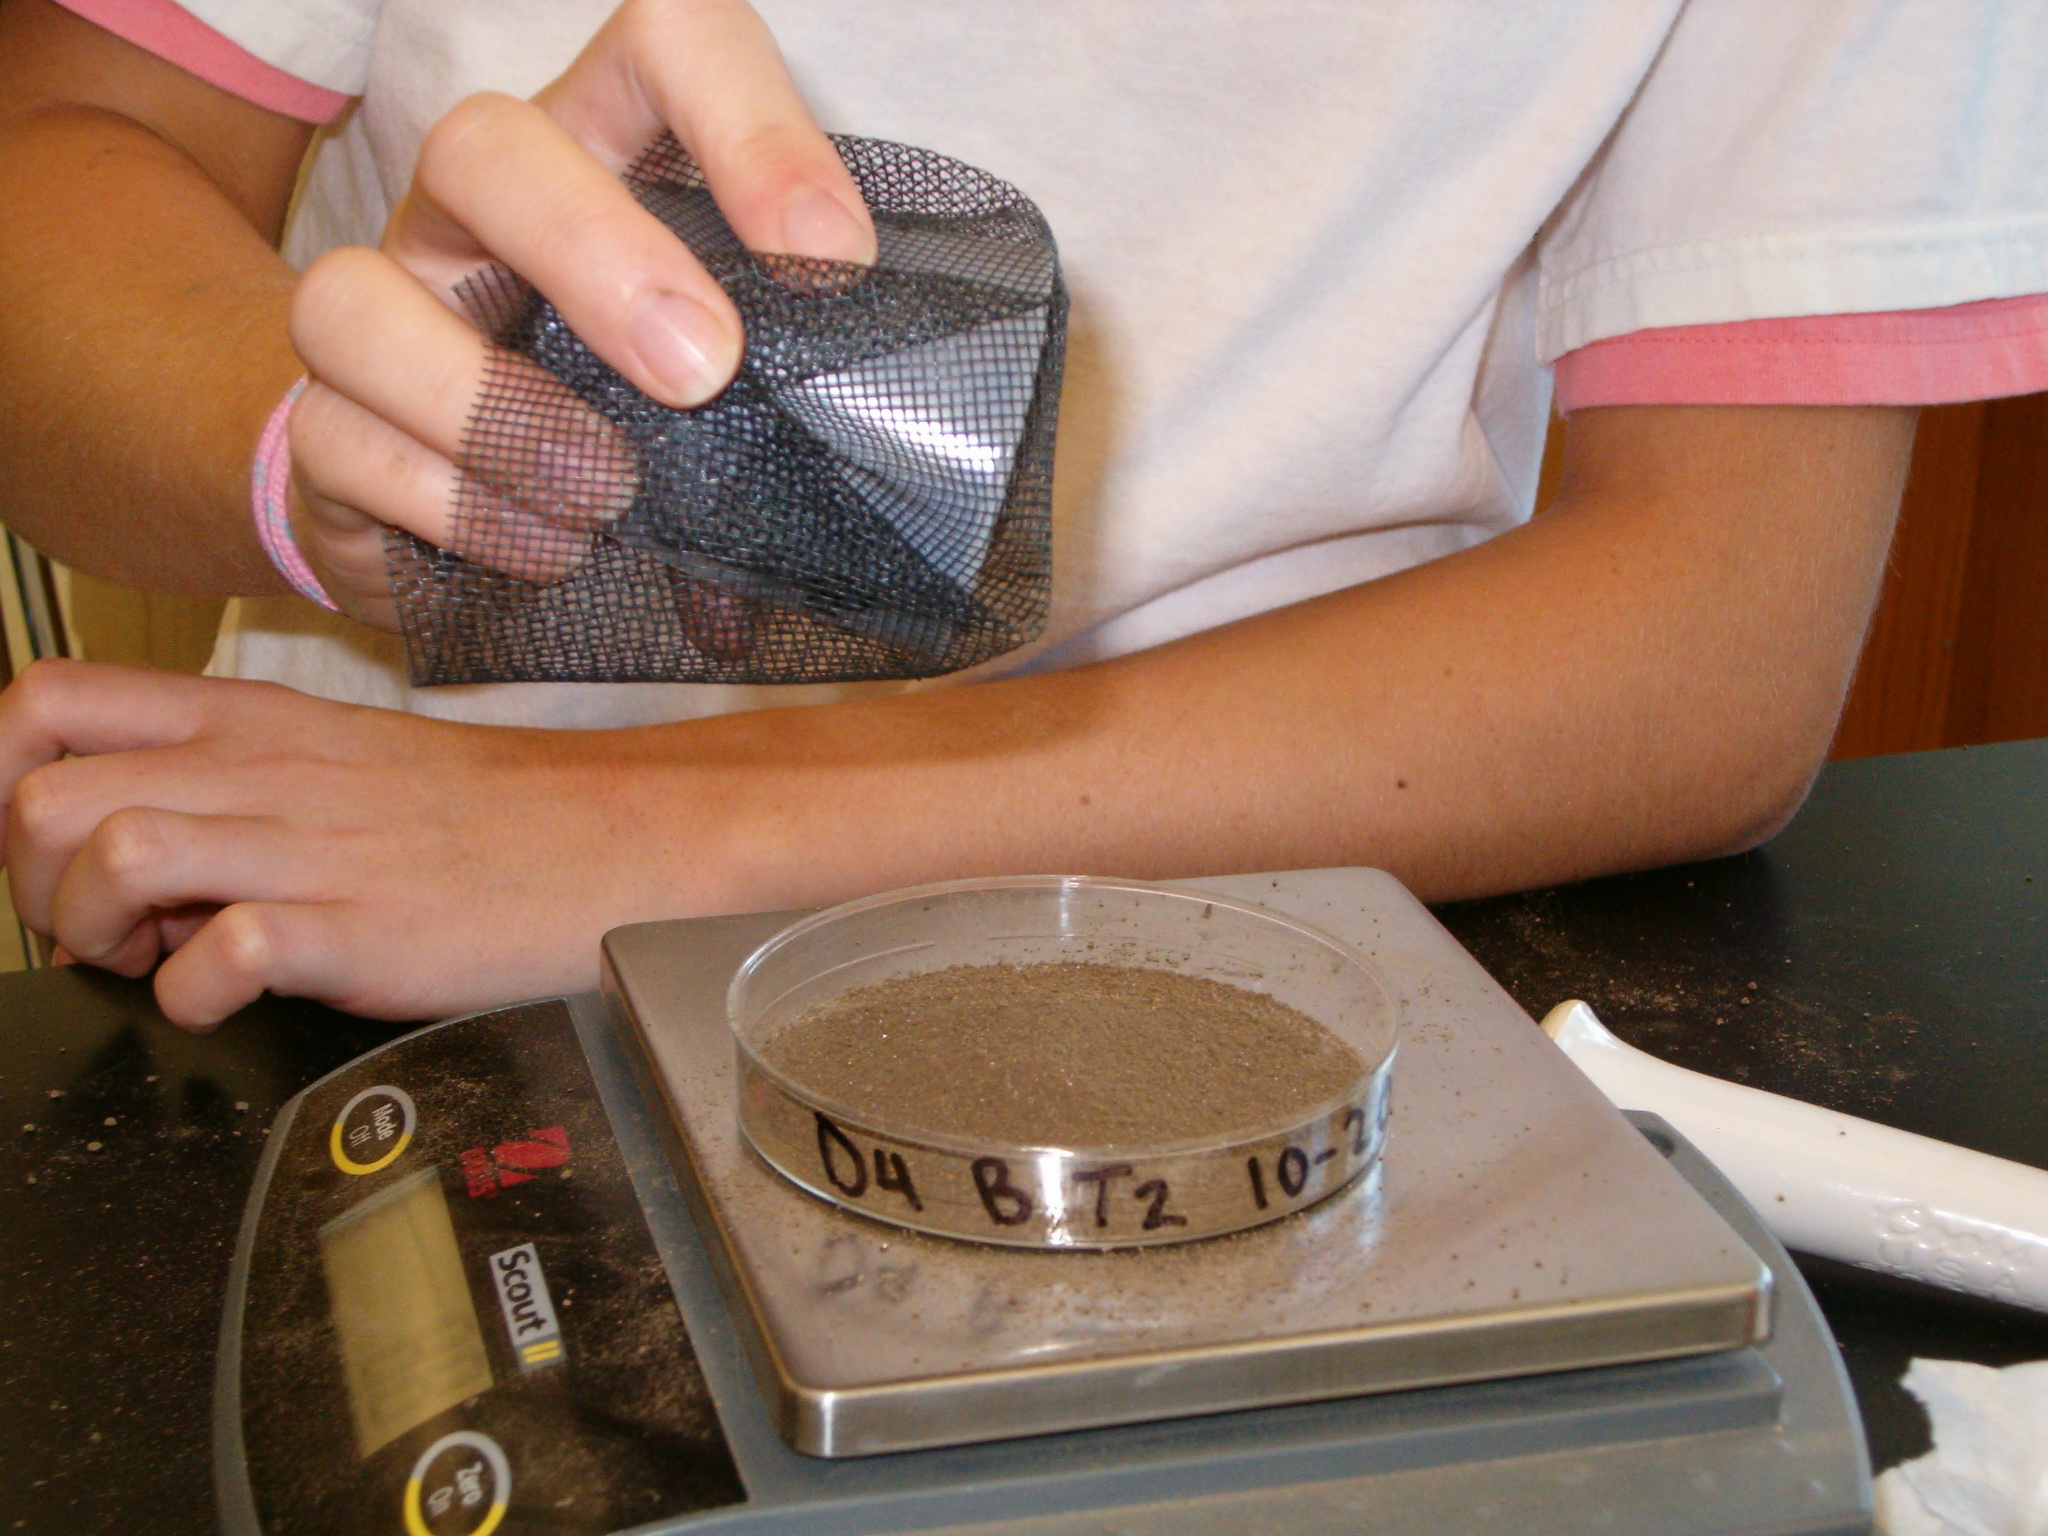 Sift 9-10 g of the soil into a 2nd clean
Petri dish using a 1 mm2 nylon screen or mesh.
Sift 9-10 g of the soil into a 2nd clean
Petri dish using a 1 mm2 nylon screen or mesh.
Add 20 ml of distilled water to saturate the soil
Cover the Petri dish with its lid and allow to sit for 7
hours.
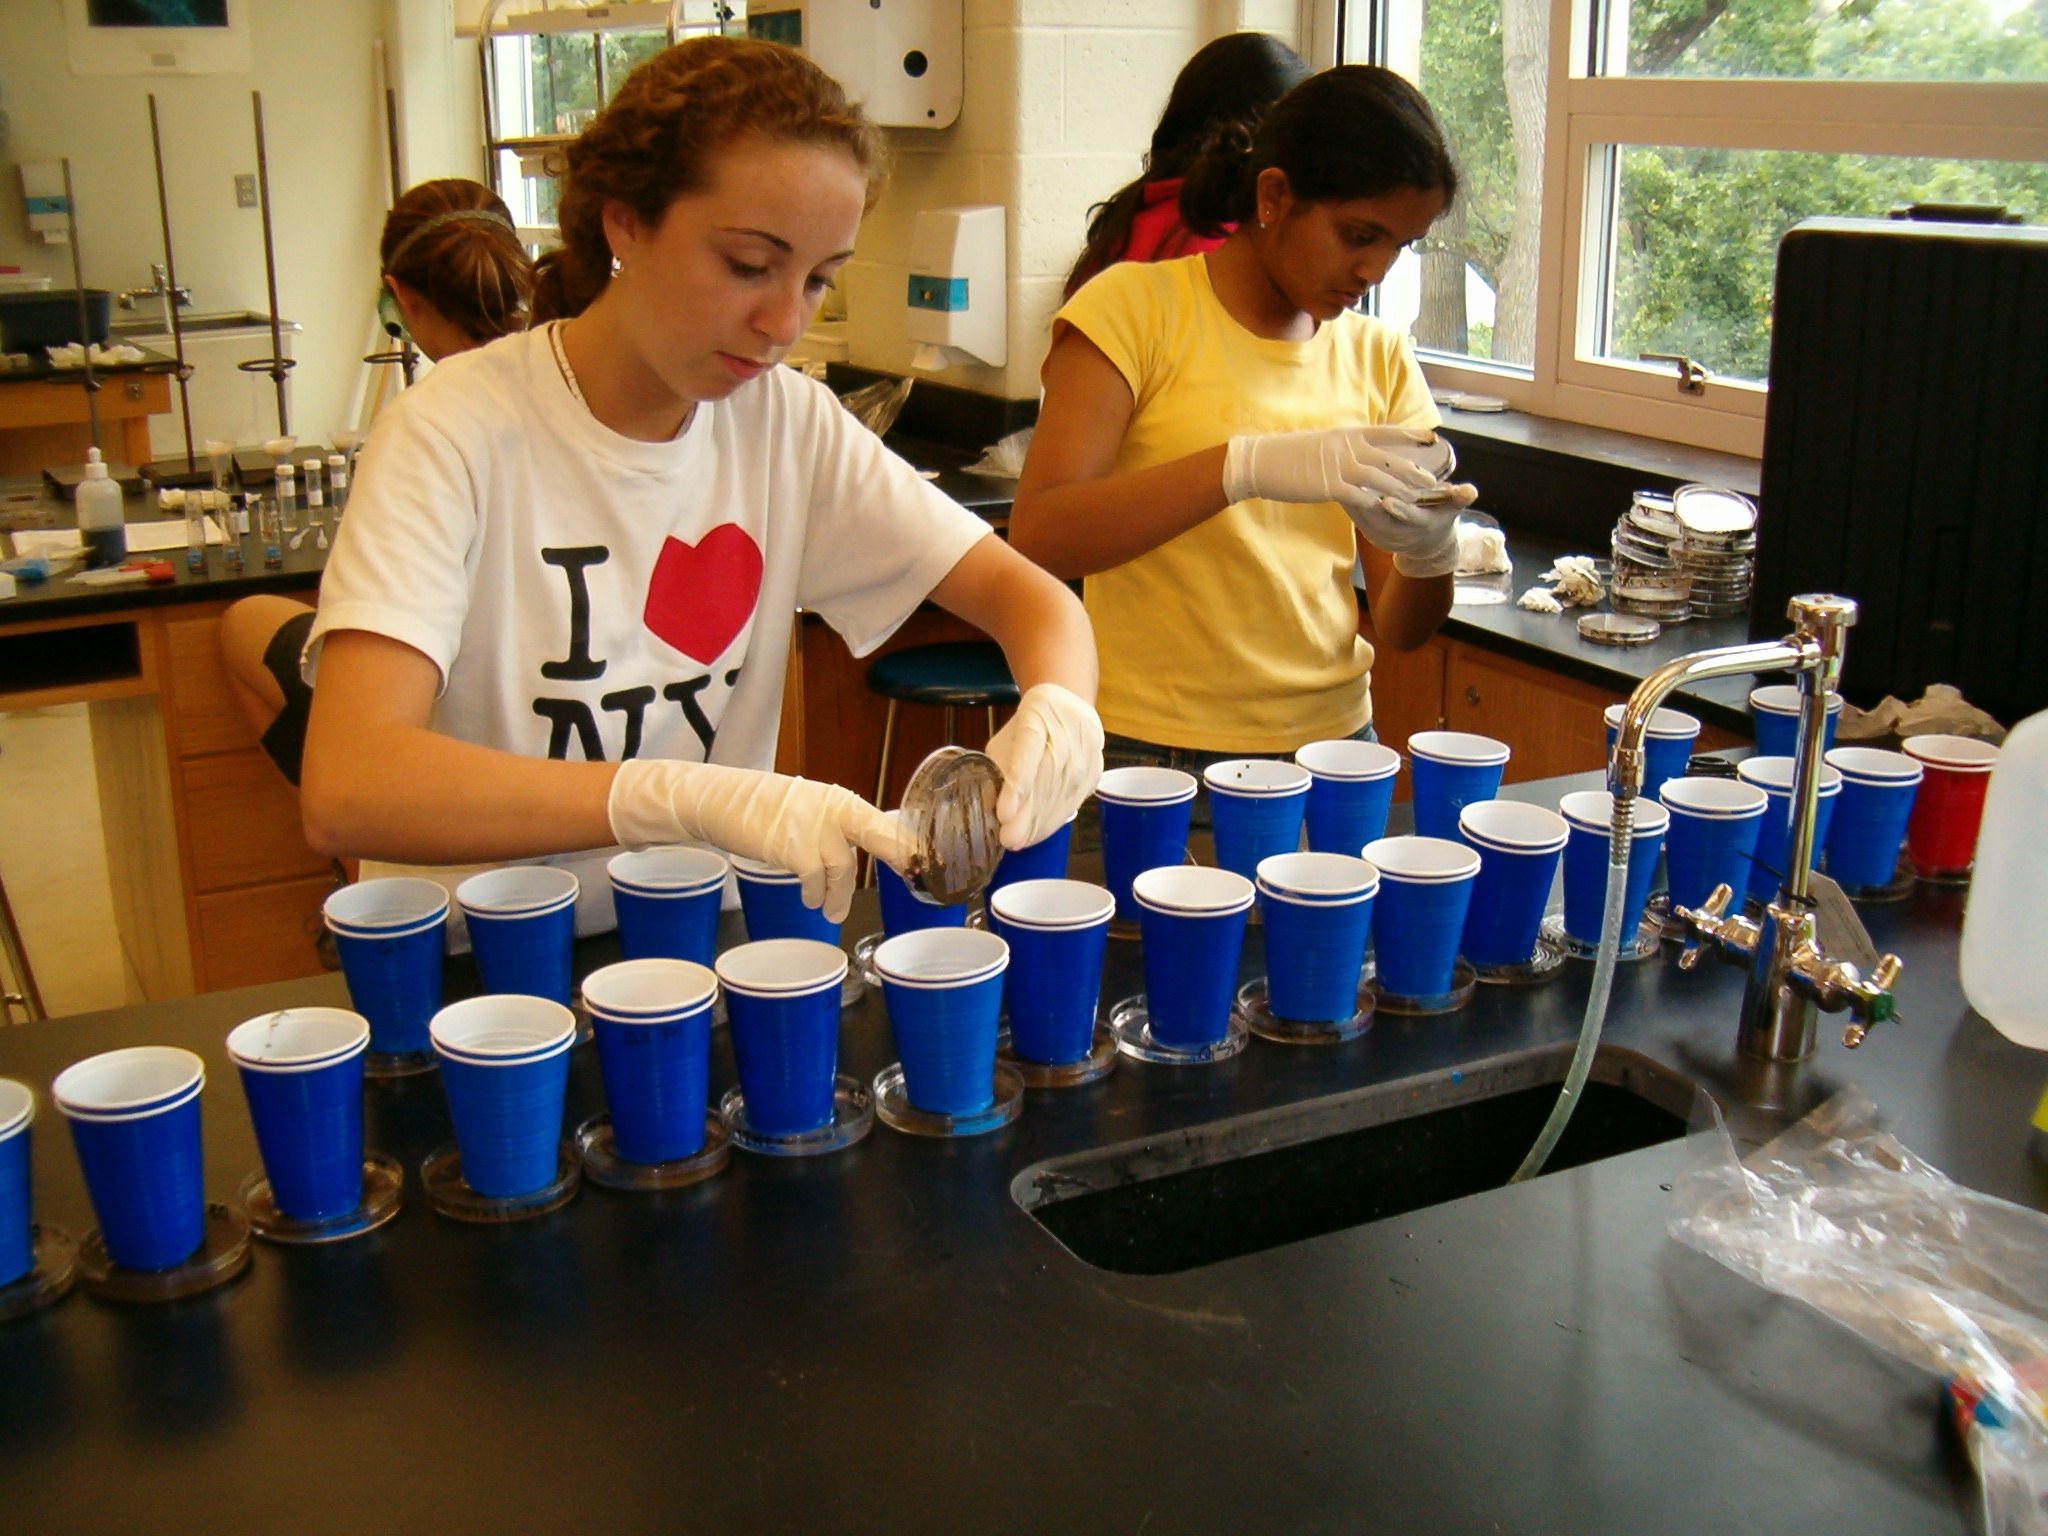 Place the soil sample in a modified Uhlig
extractor containing 30 ml of distilled water for 24 hours.
Place the soil sample in a modified Uhlig
extractor containing 30 ml of distilled water for 24 hours.
Remove the filtrate and filter a 2nd time
using 12.5 cm qualitative filter paper.
Using a capillary tube, deposit 7 µl of methyl-green
stain on a clean microscope slide (1 µl = 1 drop from the capillary tube).
Examine under a light microscope at 40X (or 100X for qualitative observations)
of the various protozoa living in the soil.
Use the following equation to determine the population
density of protozoa in the soil sample:
[(# per field of view at 40X) • (total ml of water used) • 747]
¸ (grams of sifted soil ) = # of
protozoa per gram of soil
***The protozoa
extraction process used above complies to the Kate Brock Meyer method.
 Glass funnels
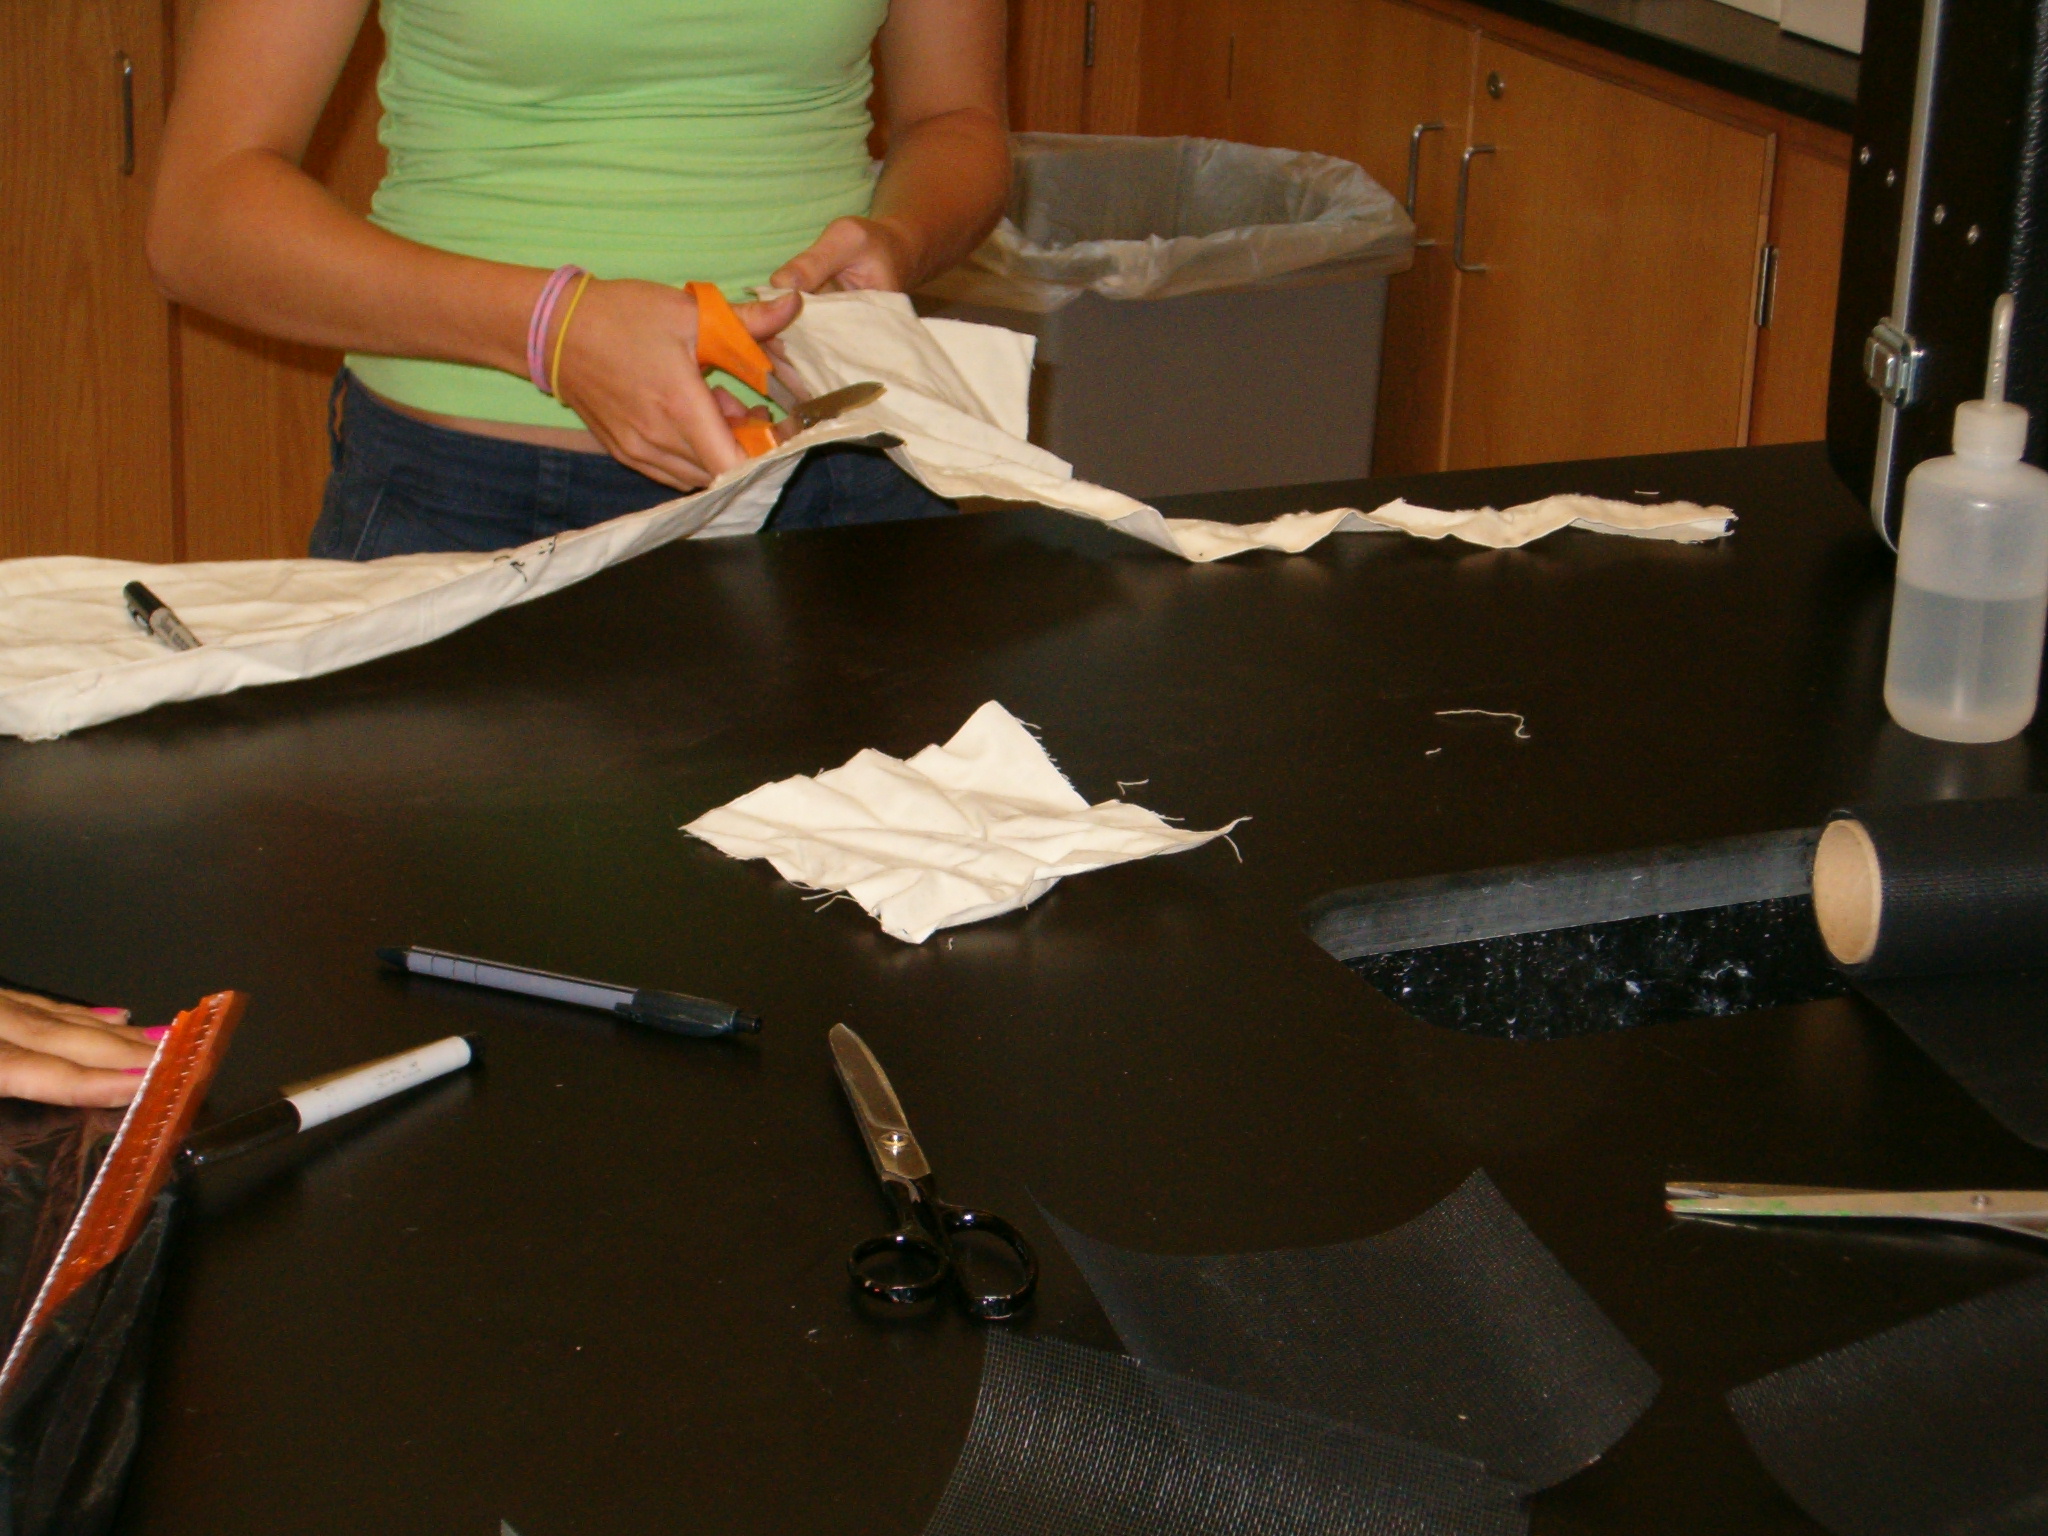 Do the same for nylon mesh, black plastic, black
hefty plastic bag and commercial food wrap.
Do the same for nylon mesh, black plastic, black
hefty plastic bag and commercial food wrap.  For site 1, make 5 different plots 15
by 15 cm in measure adjacent to each other and mark them Degree 1 to Degree 5
using flags.
For site 1, make 5 different plots 15
by 15 cm in measure adjacent to each other and mark them Degree 1 to Degree 5
using flags.