PROCEDURES*
|
|
 |
1.
Measure
five 1 meter by one meter plots within site. Mark each corner
with a flag.
Number plots 1-5.
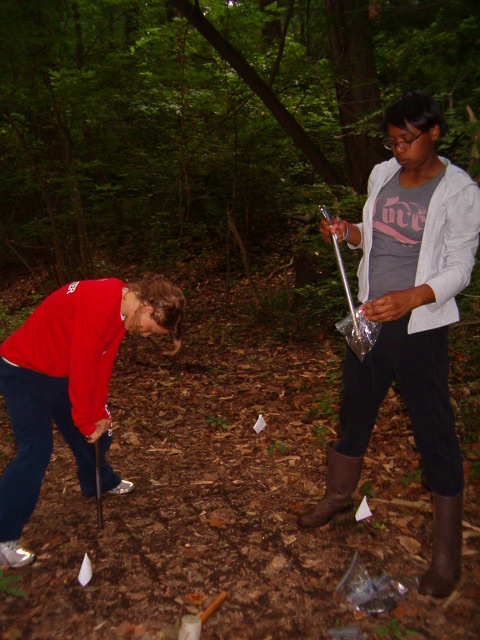
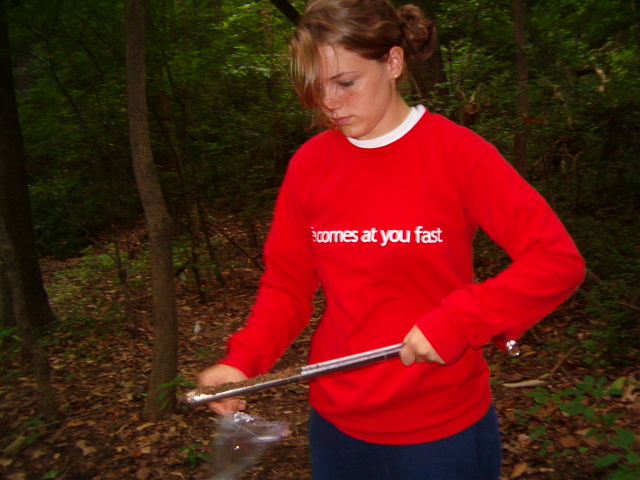
2. Using a soil auger that has a 2.5 cm diameter, extract a 15 cm deep column of soil from an area within plot 1.
 |
|
3.
Put the soil
sample into a labeled bag. (ex: Plot 1, Sample A
4. Extract 2 more soil samples (2.5 cm in diameter and 15 cm deep) from plot 1.
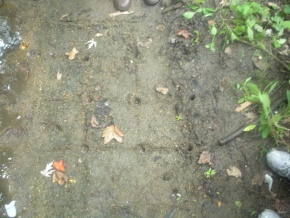
5. Fill in the holes in Plot 1 with soil from the same plot to minimize aeration.
6. Repeat steps 2-4 for plots 2-5. The extractions should be used as holes in the grid pattern outlined in steps 7-10.
|
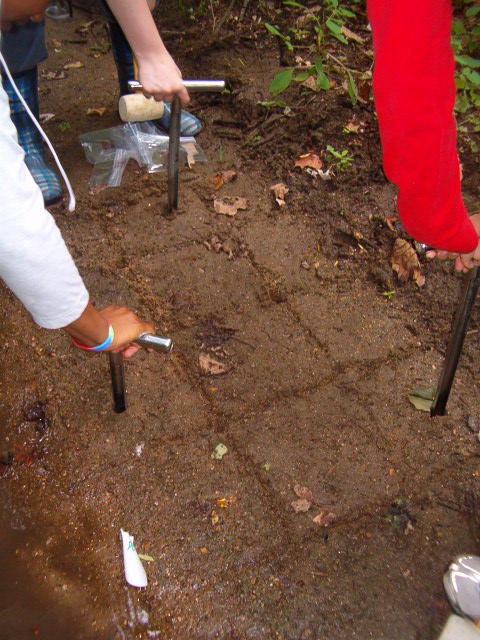
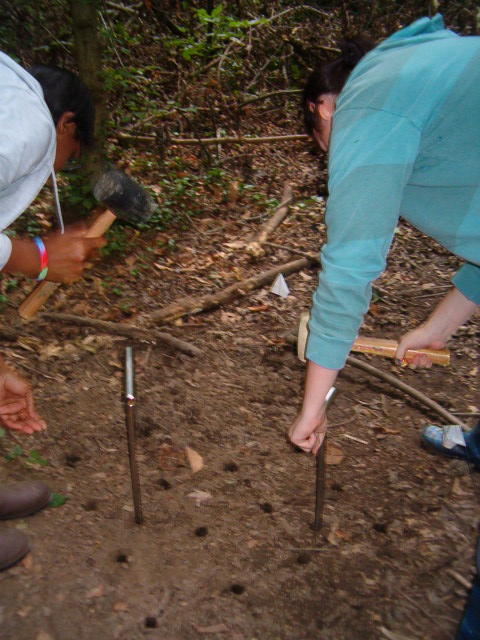
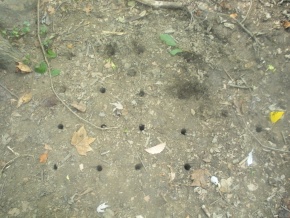
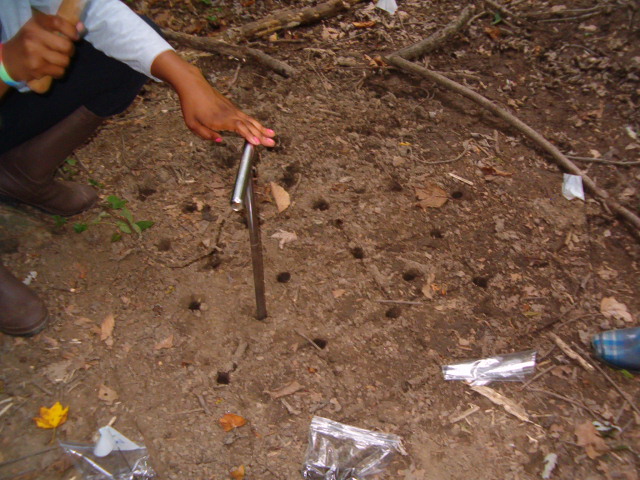
7. To aerate the soil in Plot 2,
make a series of holes in a grid
pattern, 15 centimeters deep.
The total volume of air should
add up to 2651 cm3.
See our grid in the
picture to the right and
troubleshooting page for a
specific example. |
 |
|
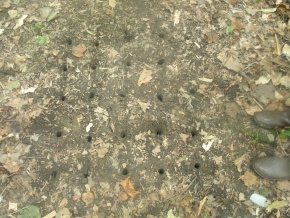
8. To aerate the soil in Plot 3,
make a series of holes in a grid
pattern, 15 centimeters deep.
The total volume of air should
add up to 4712 cm3.
See our grid in the picture to
the right and
troubleshooting page for a
specific example. |
 |
|
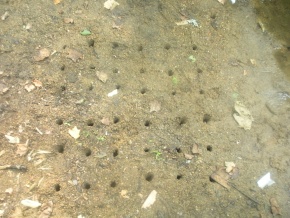
9. To aerate the soil in Plot 4,
make a series of 15 cm deep
holes in a grid pattern.
The total volume should of air
add up to 7363 cm3.
See our grid in the
picture to the right and
troubleshooting page for a
specific example.
|
 |
|
10. To aerate the soil in Plot 5, make a series of 15cm deep holes in a grid pattern. The total volume should of air add up to 10,603 cm3. See our grid in the picture to the right and troubleshooting page for a specific example. |
 |
 |
11.
Let aerate
for at least 36 hours.
12. Meanwhile, return to lab and test each "before" soil sample for the level of protozoa levels and if possible, dissolved oxygen- see troubleshooting page for details. While not critical, it can provide useful information that can aid in your analysis.
13. Two days after the initial sampling, go back to the site and extract three more samples (2.5 cm in diameter and 15 cm deep) from each plot. Don't forget to label bags!
15. Compare results