

Question: What is the effect of sunlight on bacteria?
Independent variable: amount of sunlight
Dependent variable: amount of bacteria per a cc
Negative control: site not covered with any mesh
Controlled variables: area, time, amount of soil, sun exposure
Protocol:
Materials:
- shovel
- 90 plastic bags
- Permanent marker
- 25 Culture tubes with caps
- 1-cc scoop
- Sterile water
- 60 flags
-
3M Petrifilm®
- Disposable dropper or pipettes
- P200 micro-pipette with tips
- Soil core samplers
- 30pieces of 20cm by 20 cm, 1mm Mesh
Procedure:
1) cut out 30, 20cm x 20cm 1mm2 mesh squares
2) label 90 bags
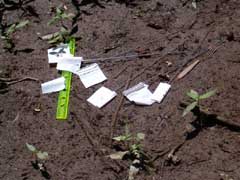
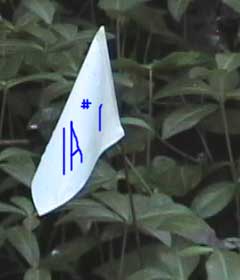
3) label the flag with the plot number, the letter of the plot square and the number of the sample in the plot square (ex. 1a #1)
4) For plot 1, your bags should be labeled 1a #1, 1a #2, 1a #3,1b #1, 1b #2, 1b #3,1c #1,1c #2,1c #3,1d #1,1d #2,1d #3,1e #1,1e #2,1e #3
5) Label your bags for plots 2 and 3 in the same manner
6) Set up 3 research plots in areas that receive a lot of sunlight
7) Make sure you record which plots receive the most light and which plot receives the least amount of light
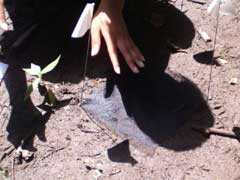
8) Set up 5, 20 cm x 20 cm squares, mark the corners each square with small flags

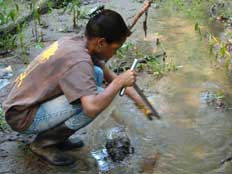
9) take 3 soil samples from first square in all 3 research plots
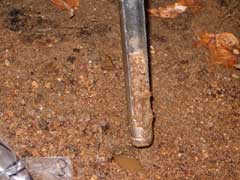
10) push the soil core 15 cm into the ground and twist it around 360°
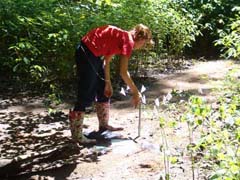
11) Pull the soil core out of the ground, the collected column of soil should be at the most 15 cm tall, it may be shorter if the soil contains high amounts of water.
12) put the collected soil into a baggie labeled with the number of the soil sample (#1,#2 or #3) and the number of the plot square(1a-1e, 2a-2e,3a-3e).

13) Do not cover the first square with mesh
14) take 3 soil samples from the second square in all three sites, but be sure to wash the soil core after each sample
15) Put the collected soil in a bag labeled with the plot square number and the soil sample number.
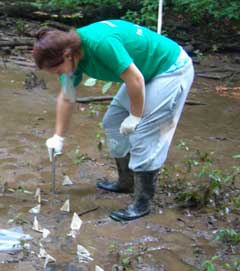
16) Cover the second square in each site with one piece of mesh, push the flags through the corners of the mesh to hold it in place
17) take 3 soil samples from the third square in all three research plots
18) Put the collected soil in a bag labeled with the plot square number and the soil sample number.
19) Cover the third square in each site with two pieces of mesh, push the flags through the corners of the mesh to hold it in place
 g
g
20) take 3 soil samples from the fourth square in all three research plots
21) Put the collected soil in a bag labeled with the plot square number and the soil sample number.
22) Cover the fourth square in each site with three pieces of mesh, push the flags through the corners of the mesh to hold it in place
23) take 3 soil samples from the fifth square in all three research plots
24) Put the collected soil in a bag labeled with the plot square number and the soil sample number.
25) Cover the fifth square in each site with four pieces of mesh, push the flags through the corners of the mesh to hold it in place
26) conduct serial dilutions for all 45 soil samples
 `
`
27) make sure you conduct all the serial dilutions for one research plot at the same time
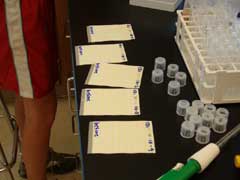
28) label the culture tubes 100 , 10-1 , 10-2 , 10-3 , 10-4
29) fill the culture tube labeled 100 with 10 ml of sterile water, fill the others with 9 ml of sterile water
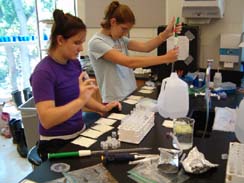
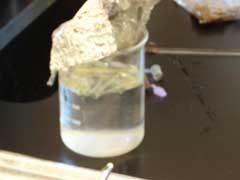
30) place 1 cc of your soil sample into the 100 tube, cap and shake vigorously
31) using a serological pipette, transfer one ml of the soil/water mixture the tube marked 10-1 ,cap and shake vigorously
32) transfer one ml of this soil/water mixture to the 10-2 tube, cap and shake vigorously
33) transfer one ml of this soil/water mixture to the 10-3 tube, cap and shake vigorously
34) transfer one ml of this soil/water mixture to the 10-4 tube, cap and shake vigorously
35) between each soil sample use a new serological pipette tube(throw the used one away)
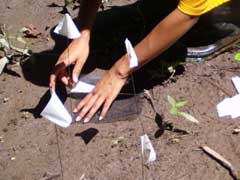
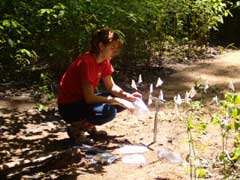
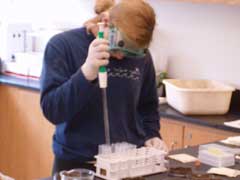
36) label 5, 3M Petrifilm® plates for each dilution value for the sample
37) transfer 100μl of the soil/water mixture to the 3M Petrifilm® plates for each dilution value
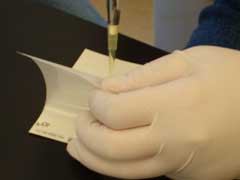
38) With a flat object, press down on the plate to spread out the bacteria, and to seal the plate
39) change micro pipette tips between each dilution number
40) allow tips to soak in a chlorine solution before disposal
41) Place the 3M Petrifilm® plates in a cool dark place and allow it to sit there for at least 4 days.
42) Count the number of red dots on the most dilute 3M Petrifilm® plate after at least 4 days have passed.
43) Multiply this number by 102 and then multiply that number by the absolute value of the dilution number on the 3M Petrifilm® plate for the average number of bacteria in the original soil sample.
44) After at least 6 days have passed, go back outside and repeat steps 10-42 (disregard the steps that involve placing mesh on the squares in your research site)
Home Introduction Procedure Results and Analysis Troubleshooting Pictures Contact Info Bibliography Acknowledgements